Shop
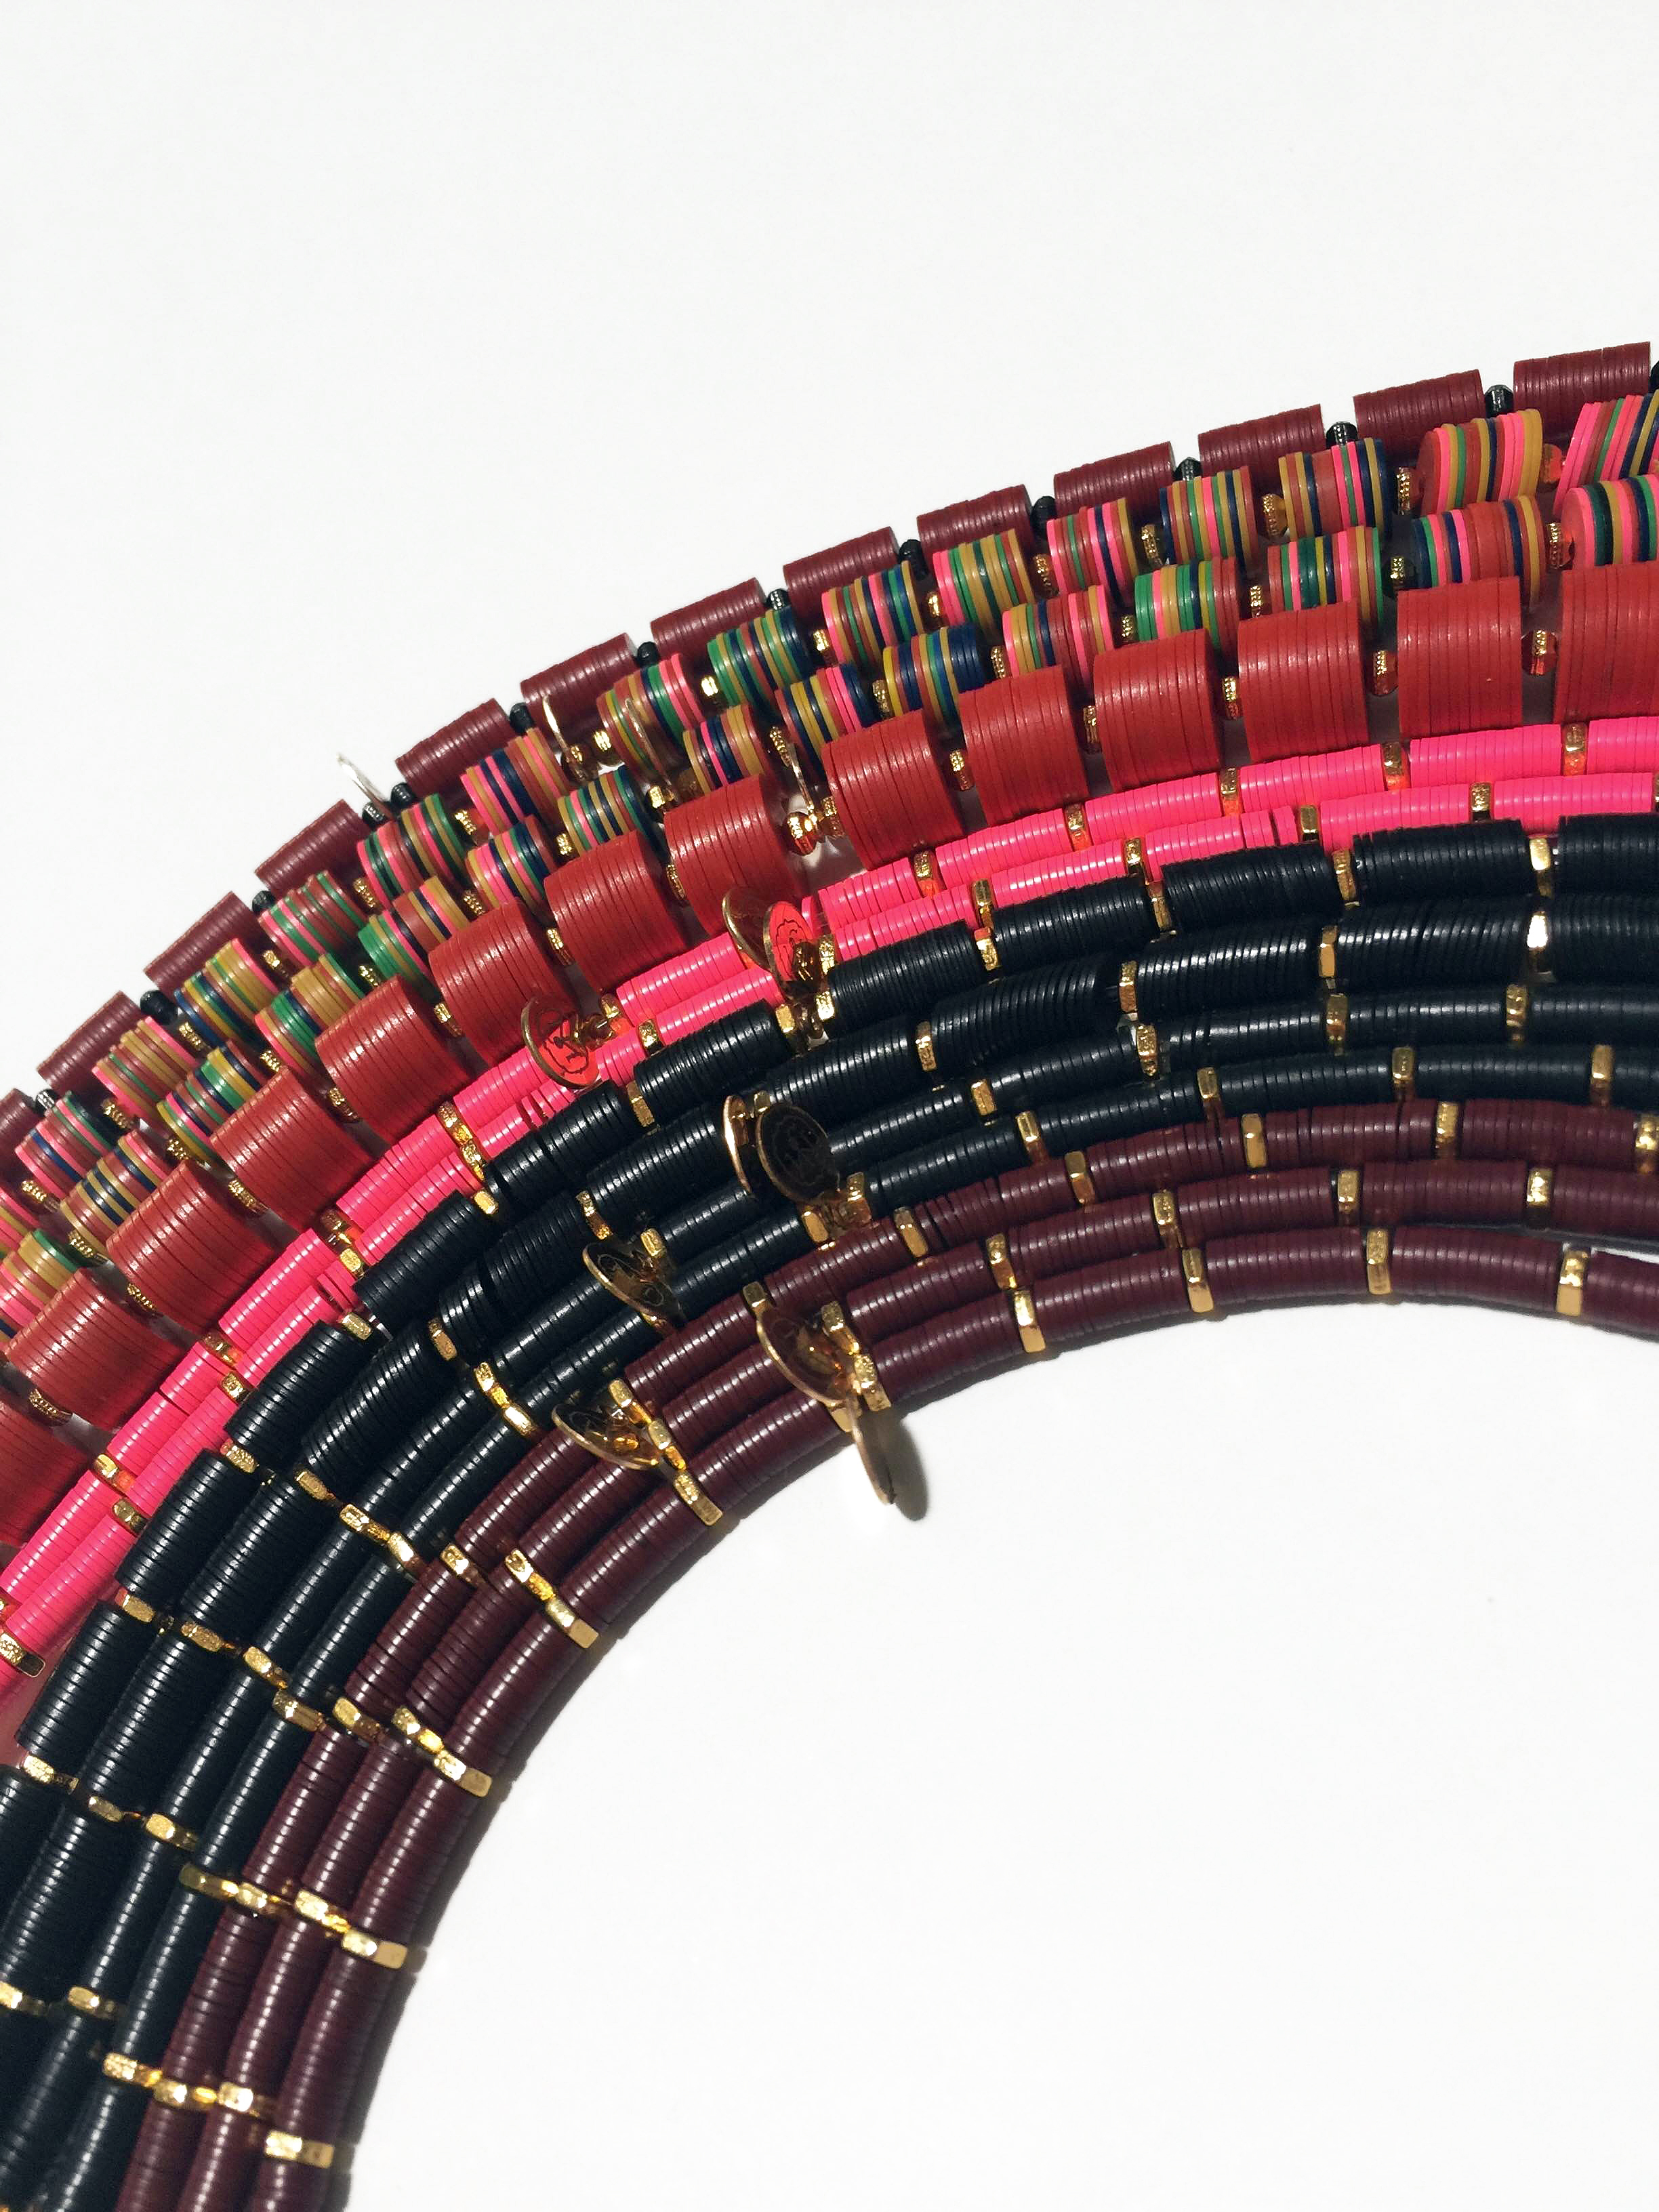
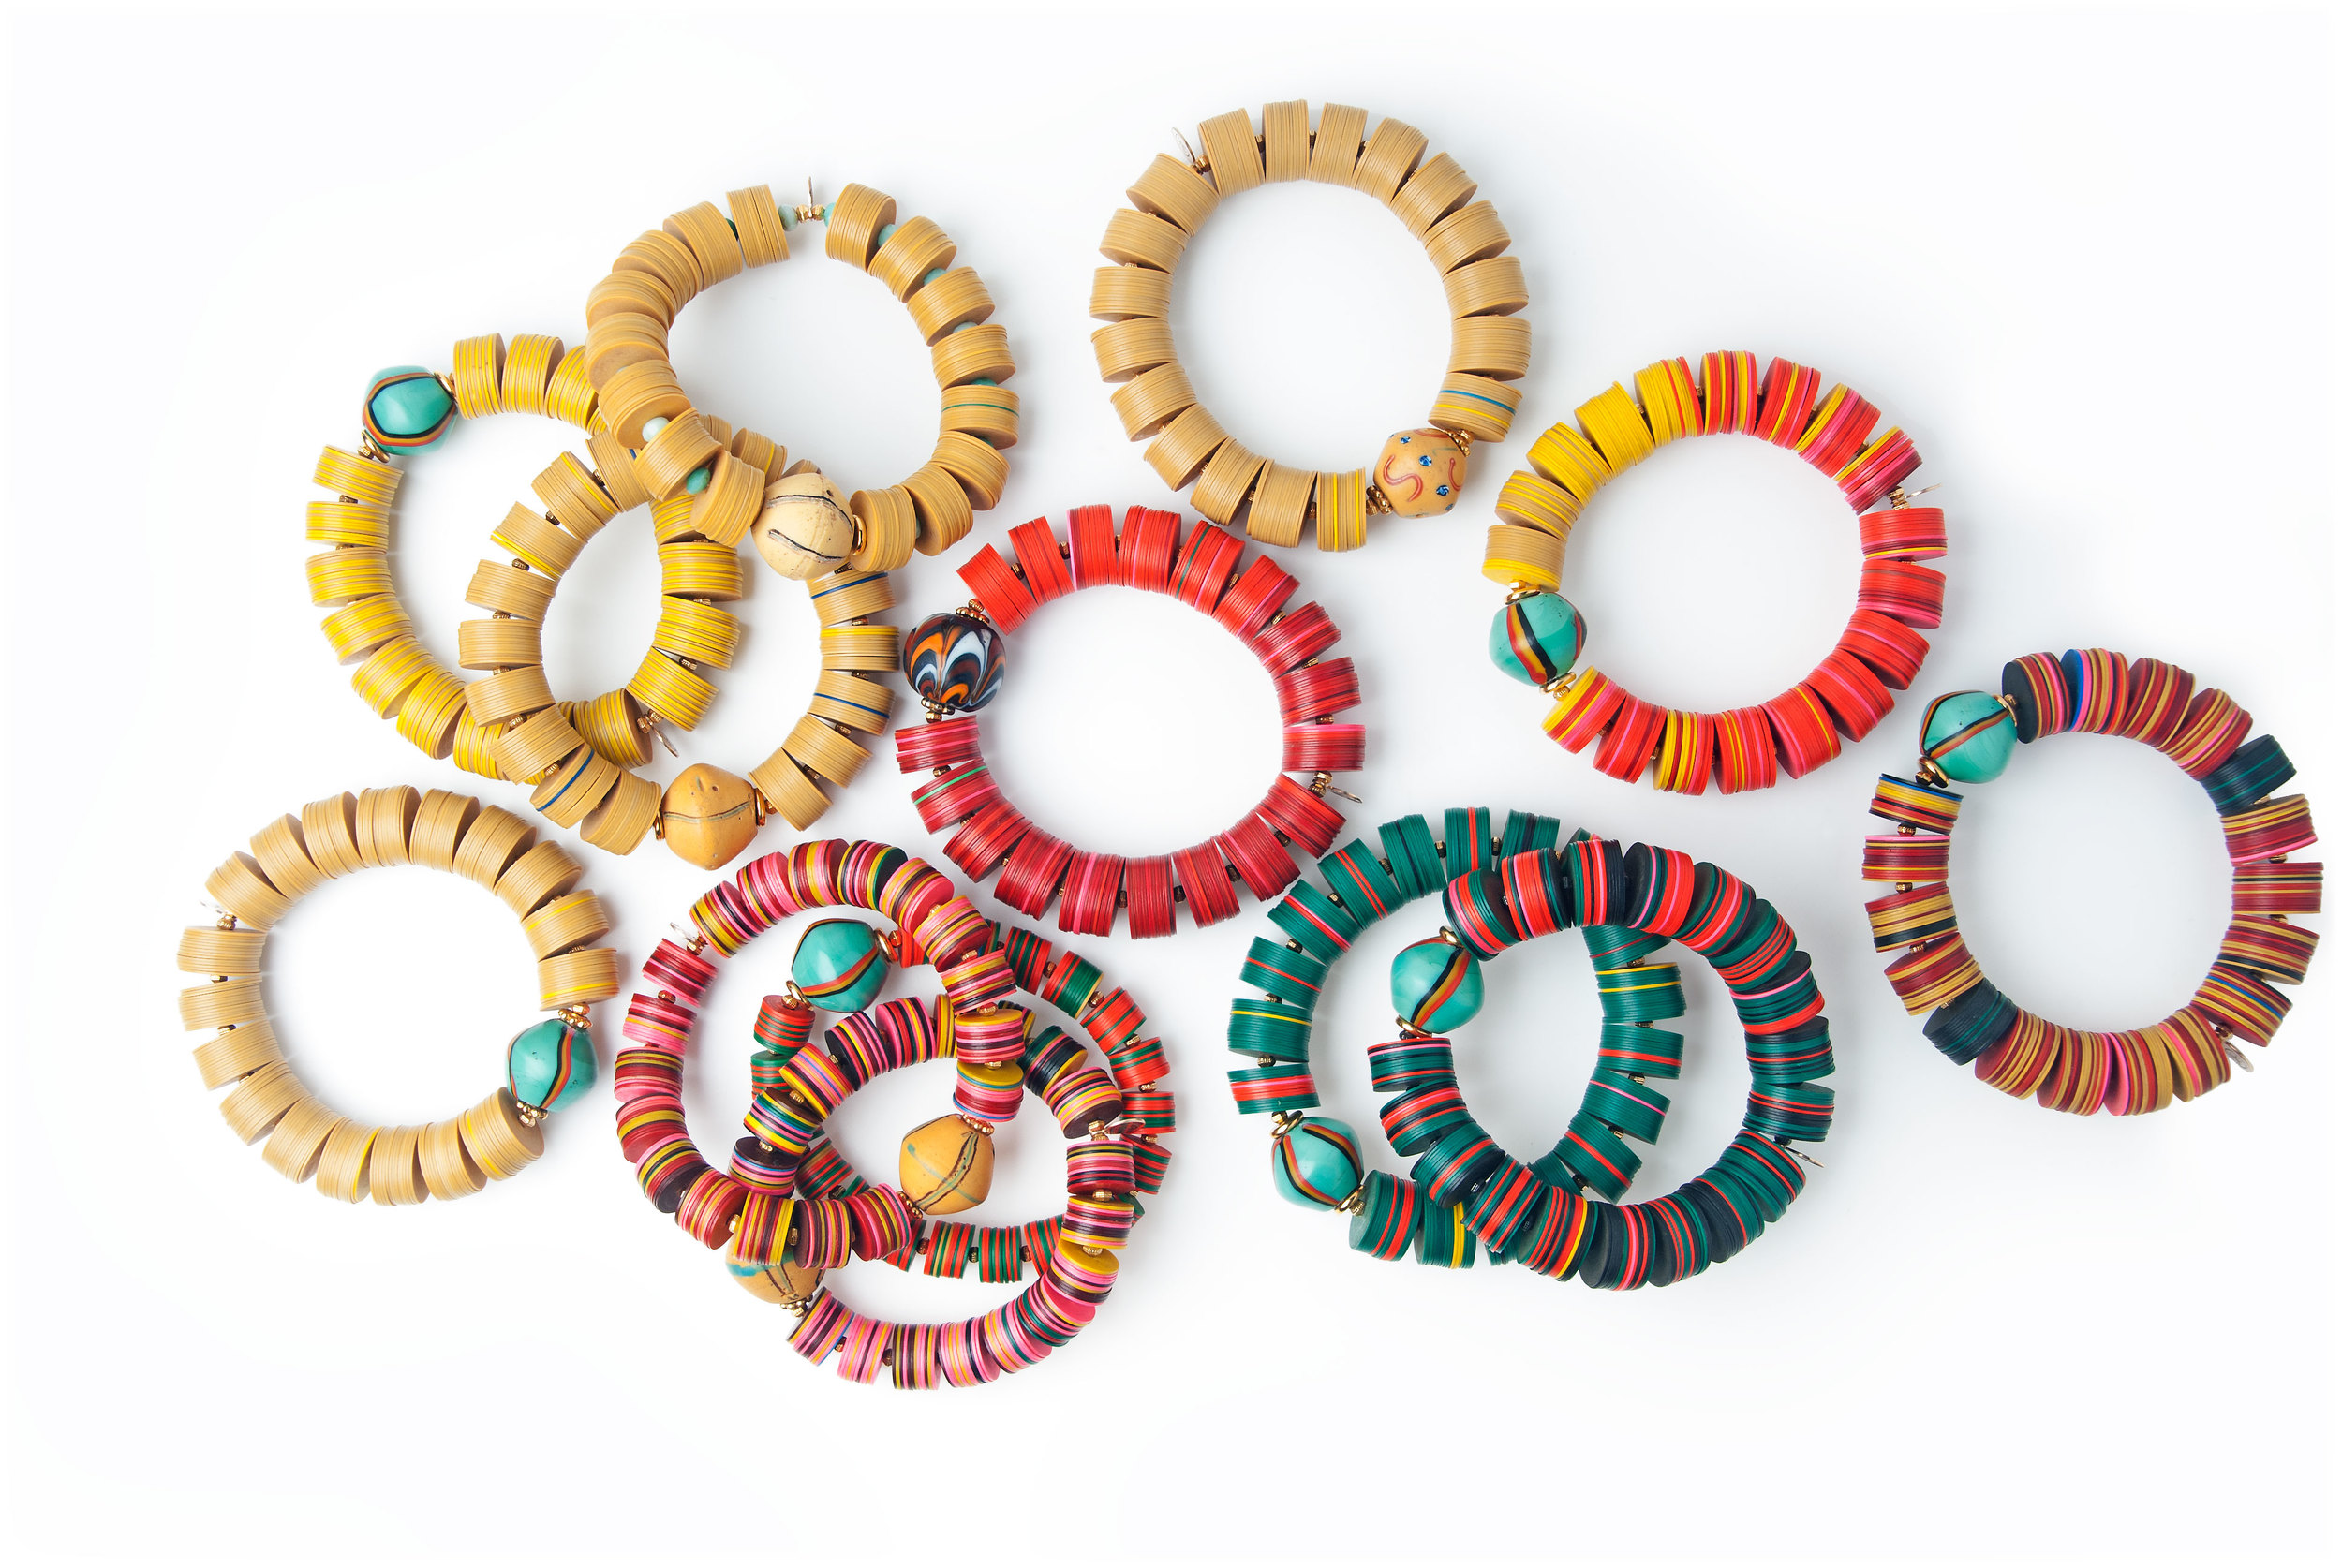
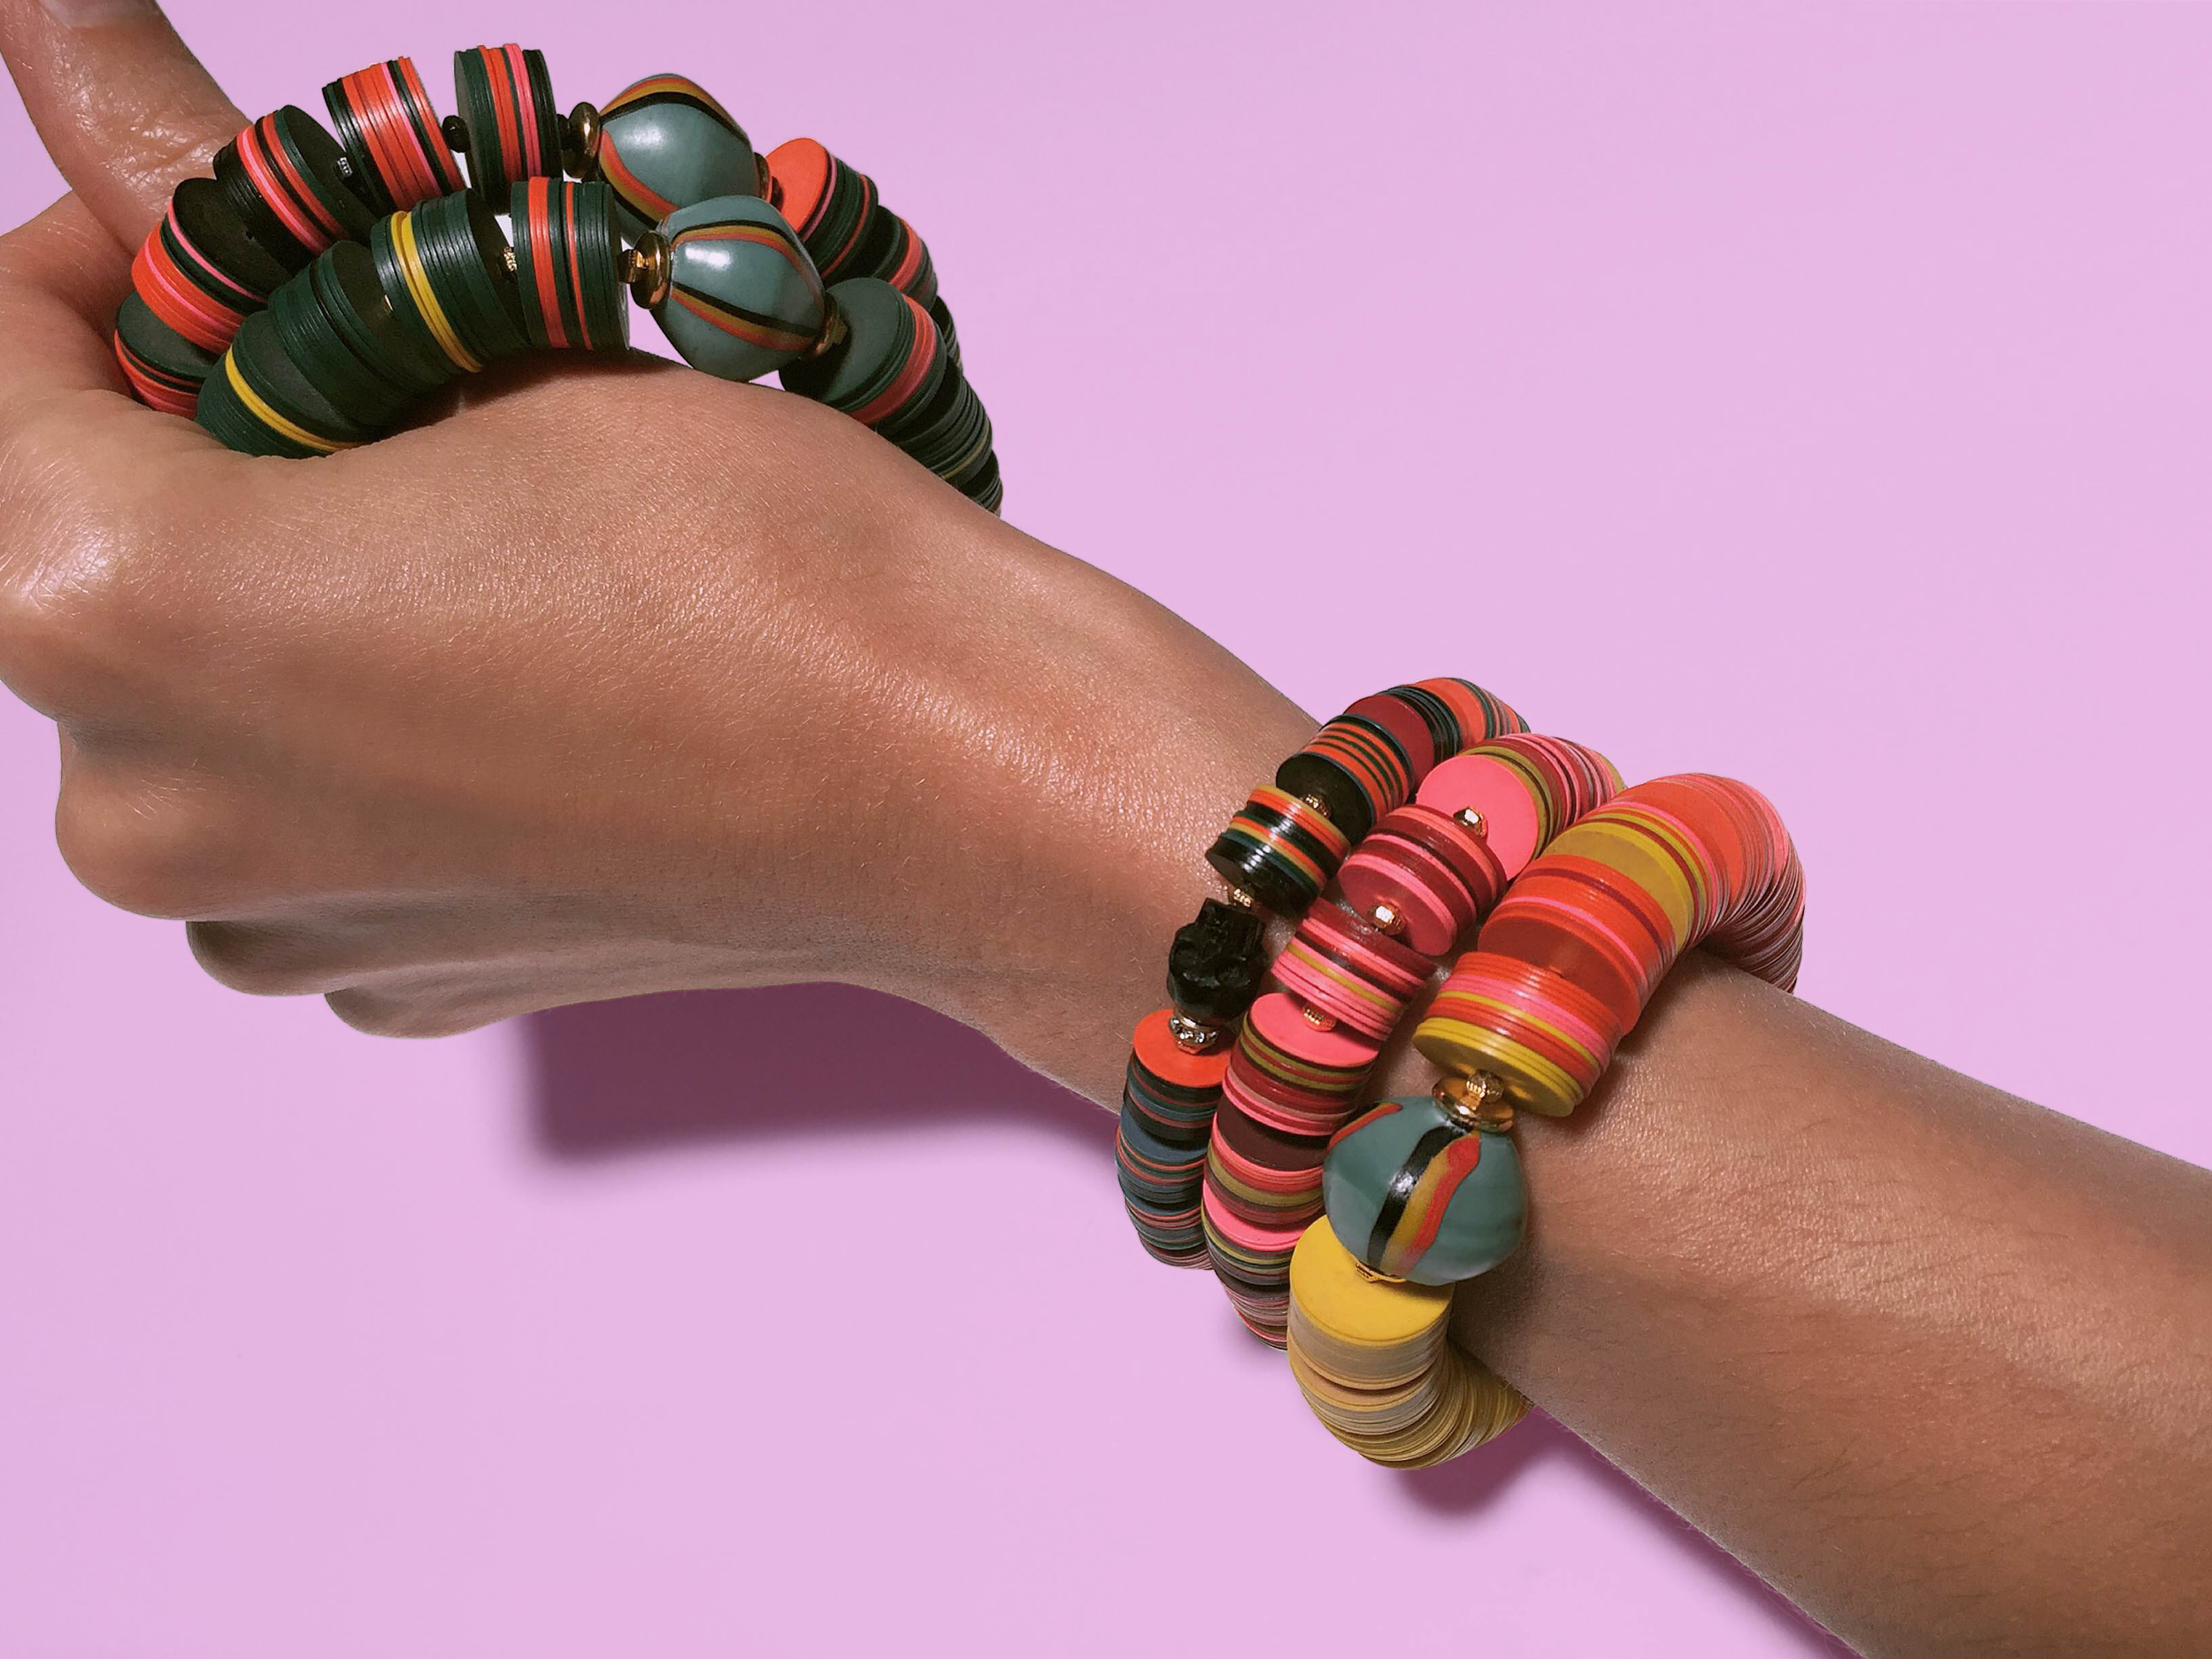
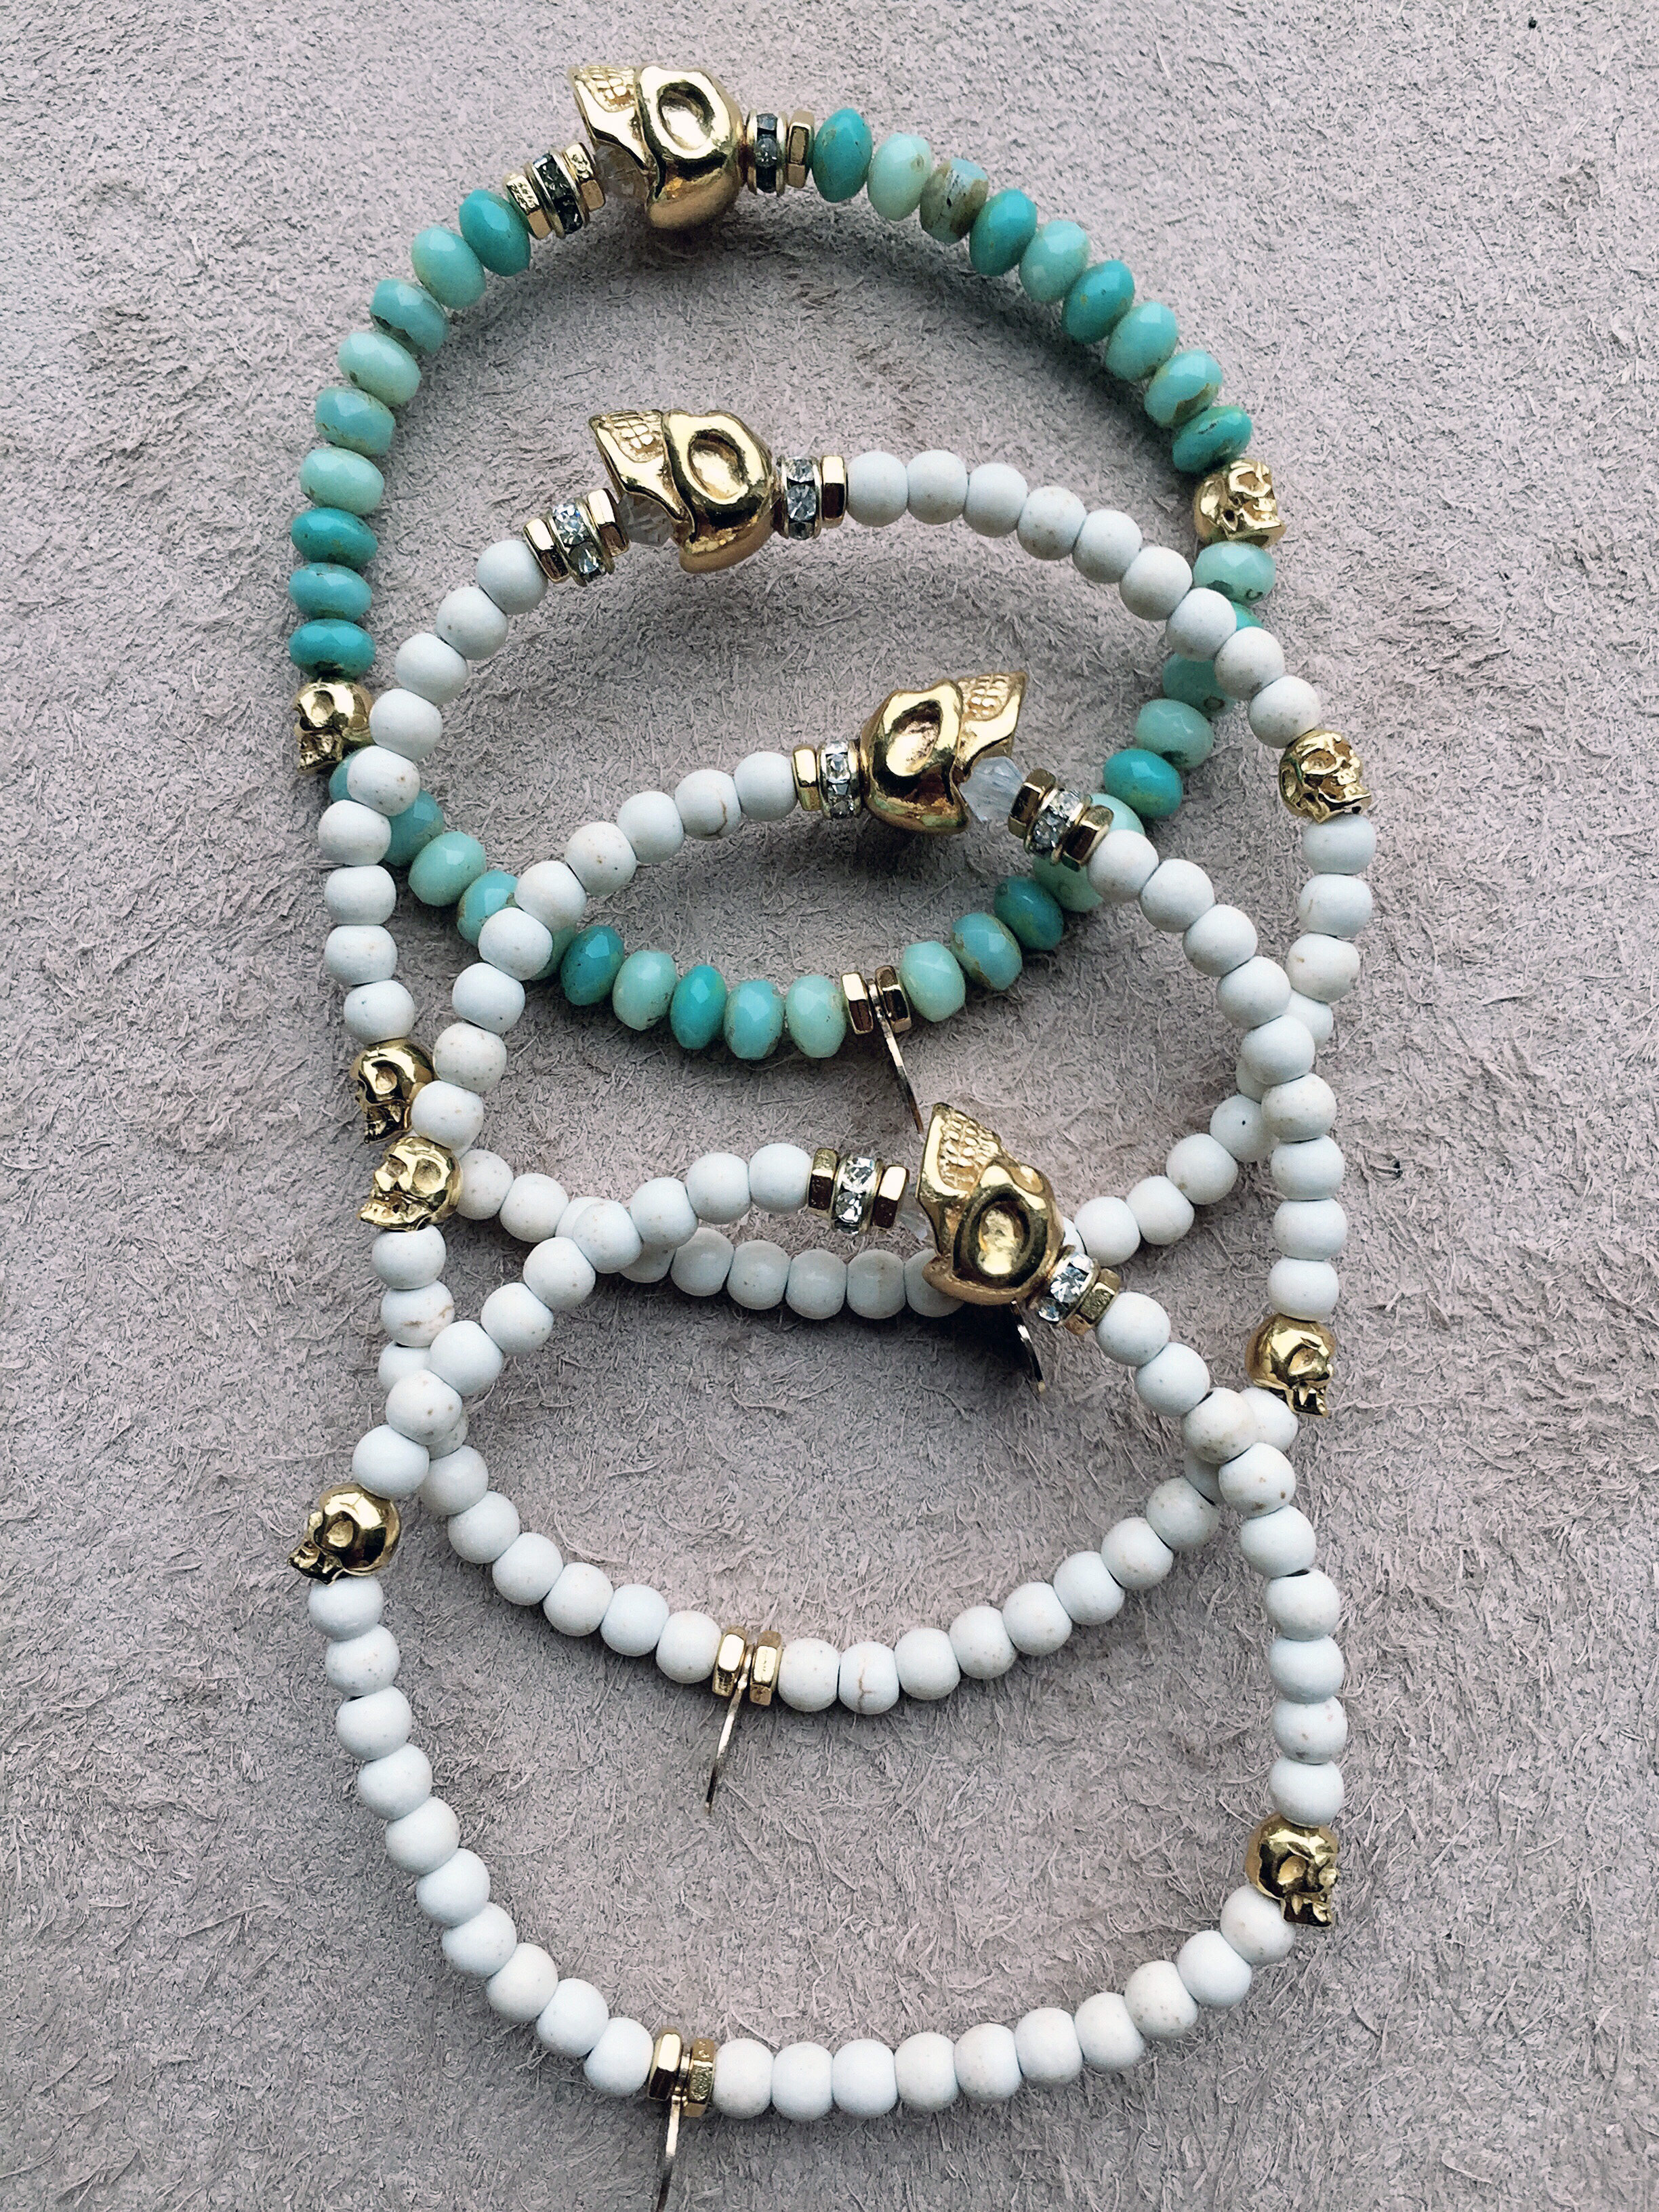
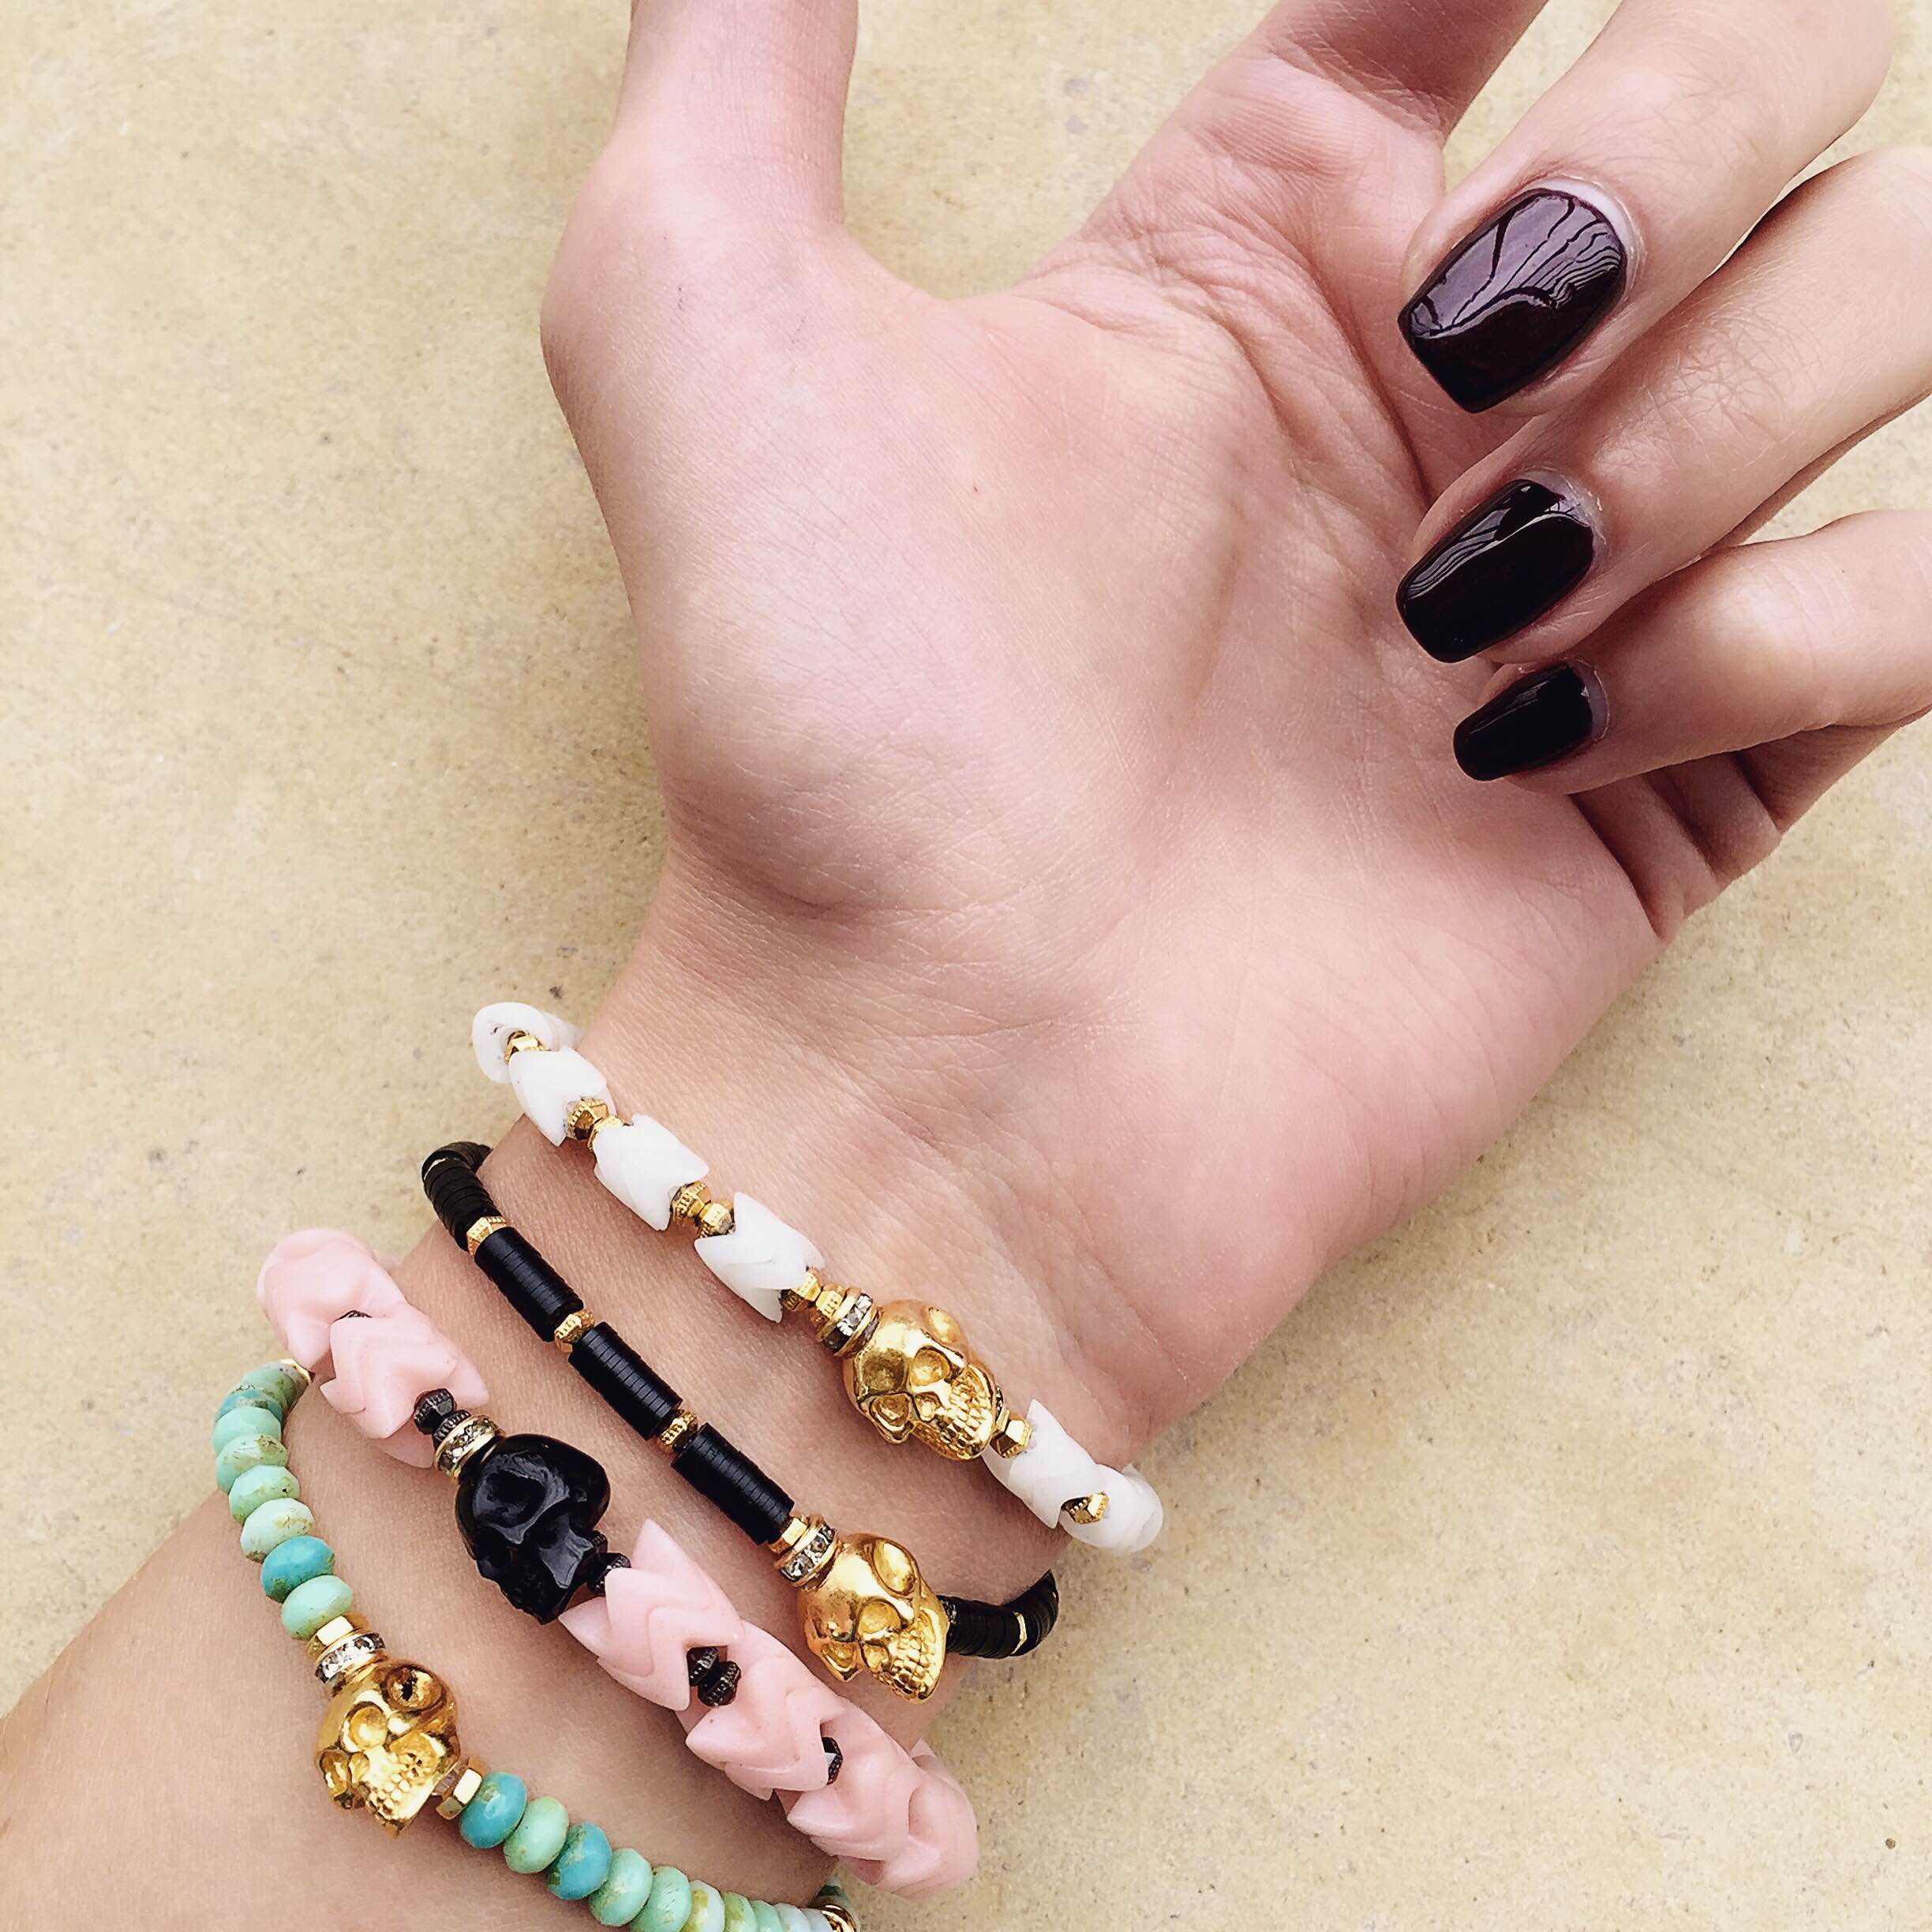
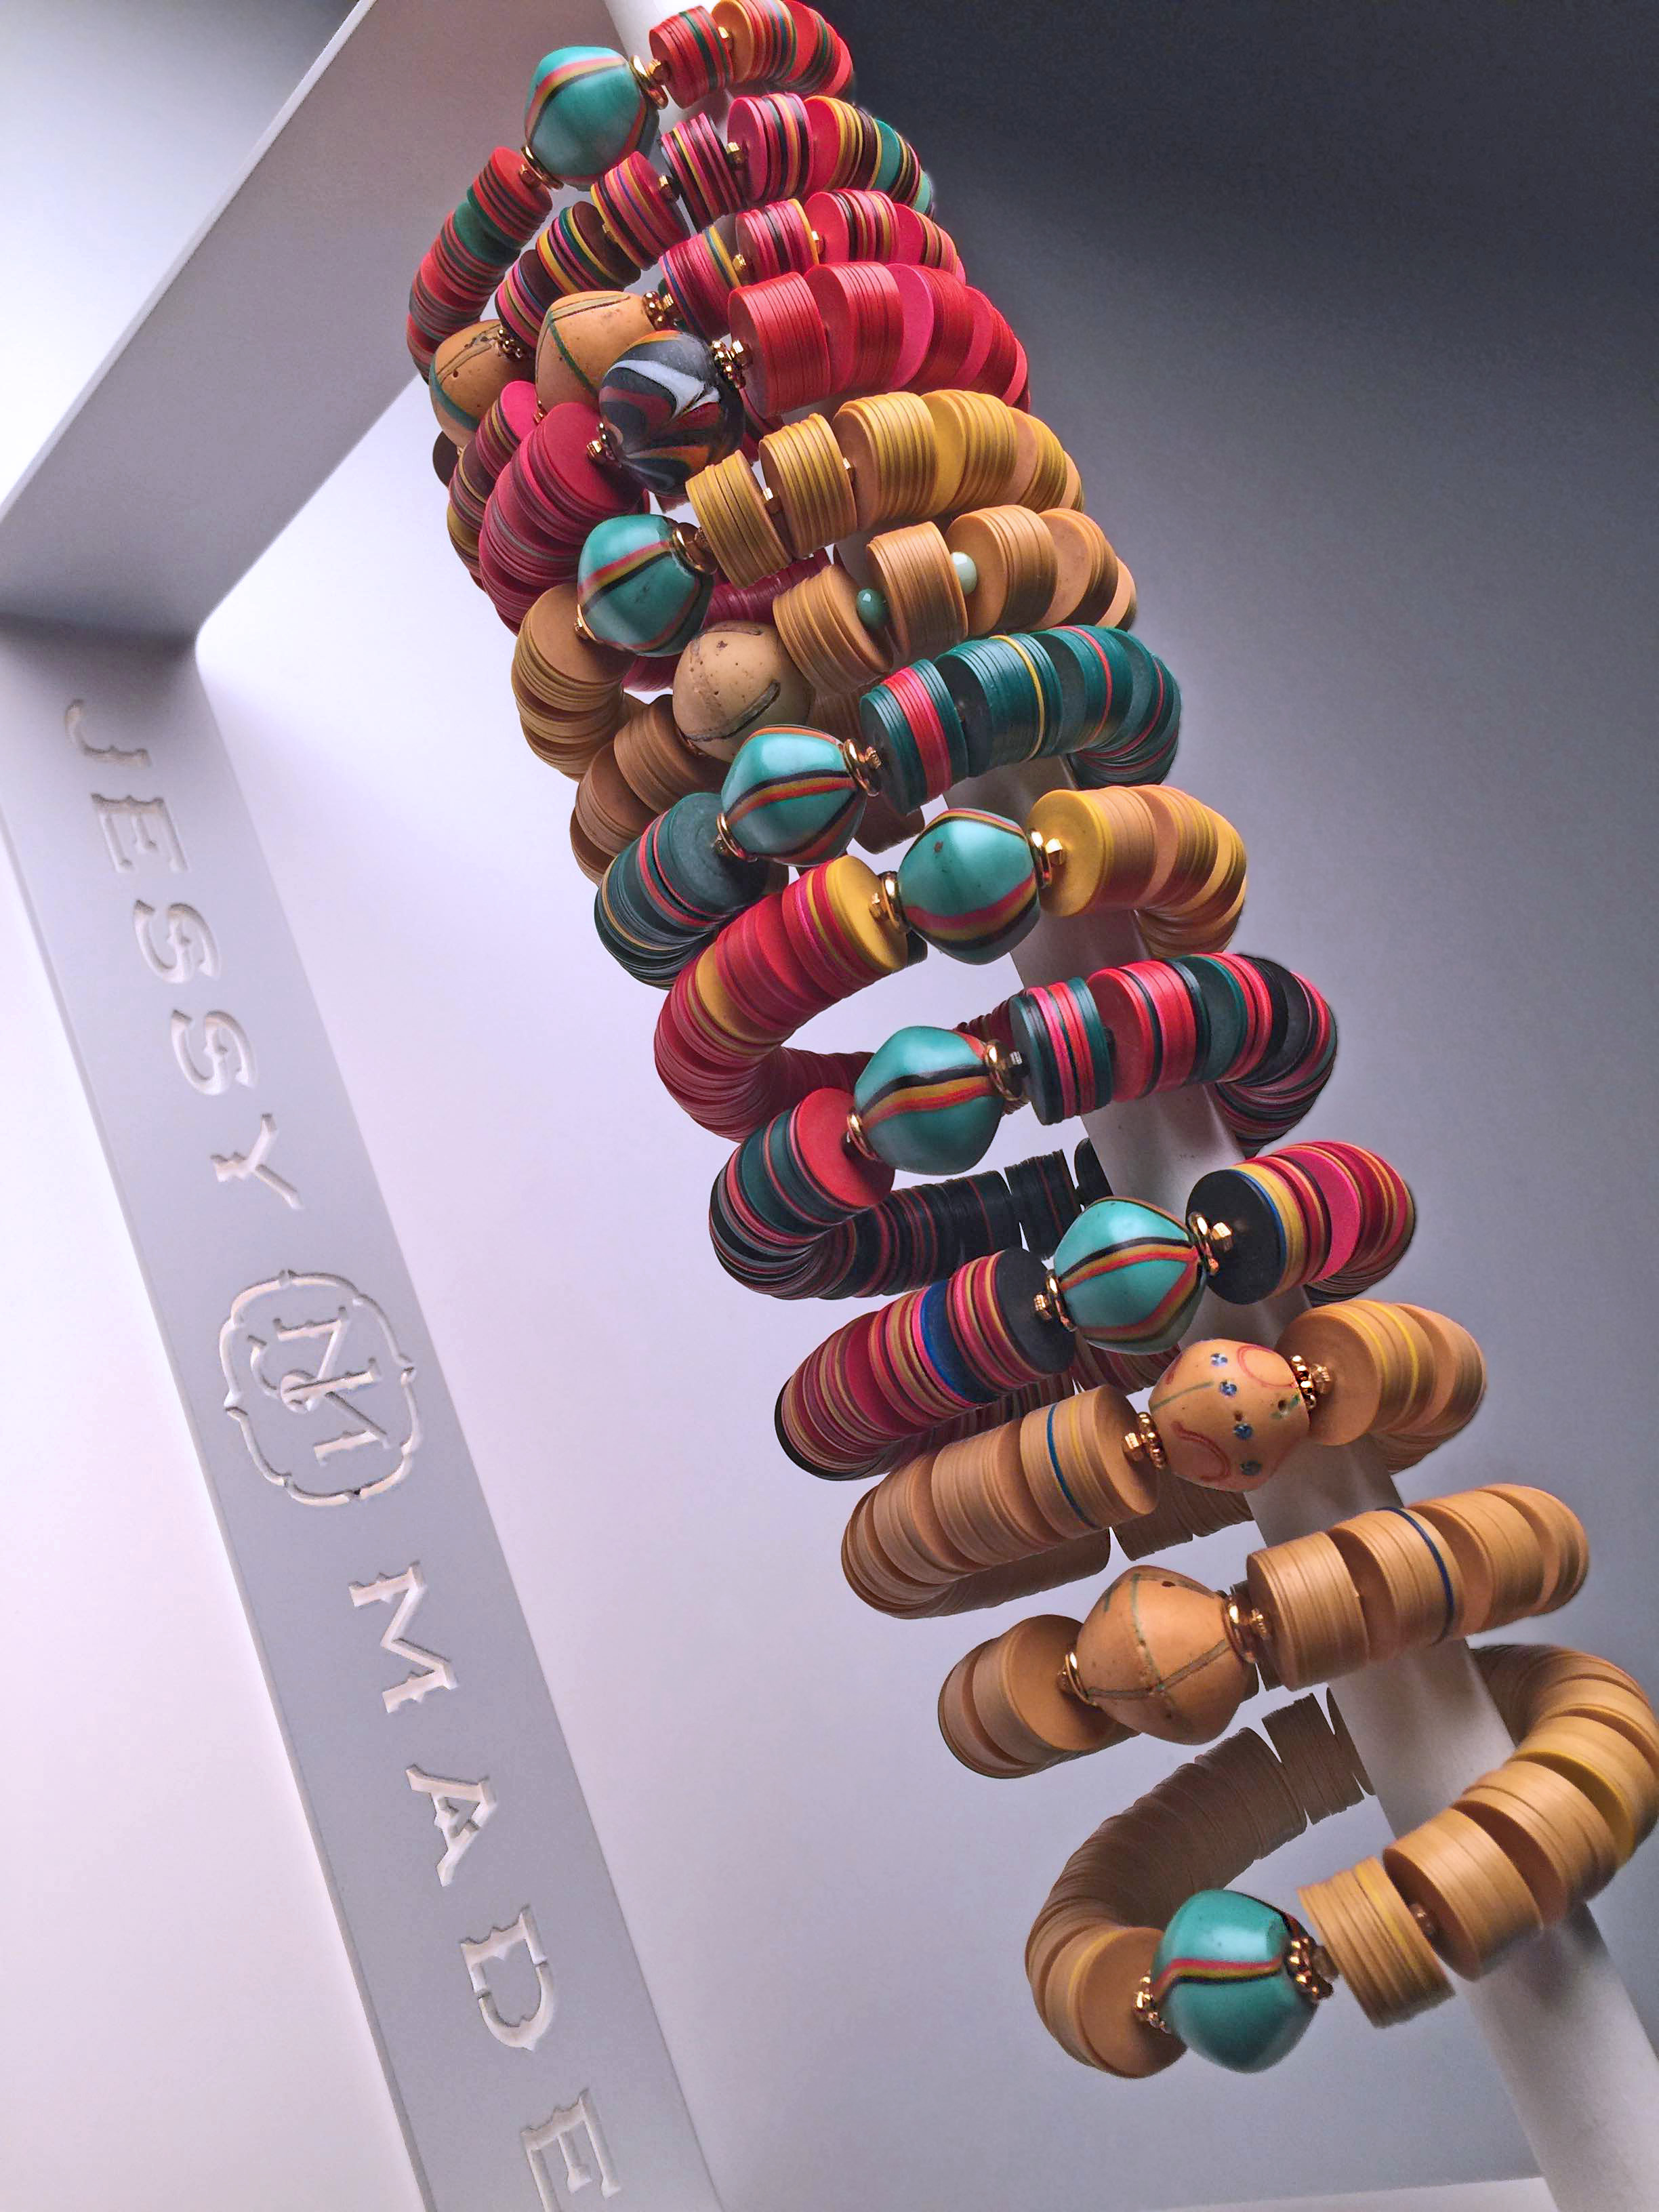
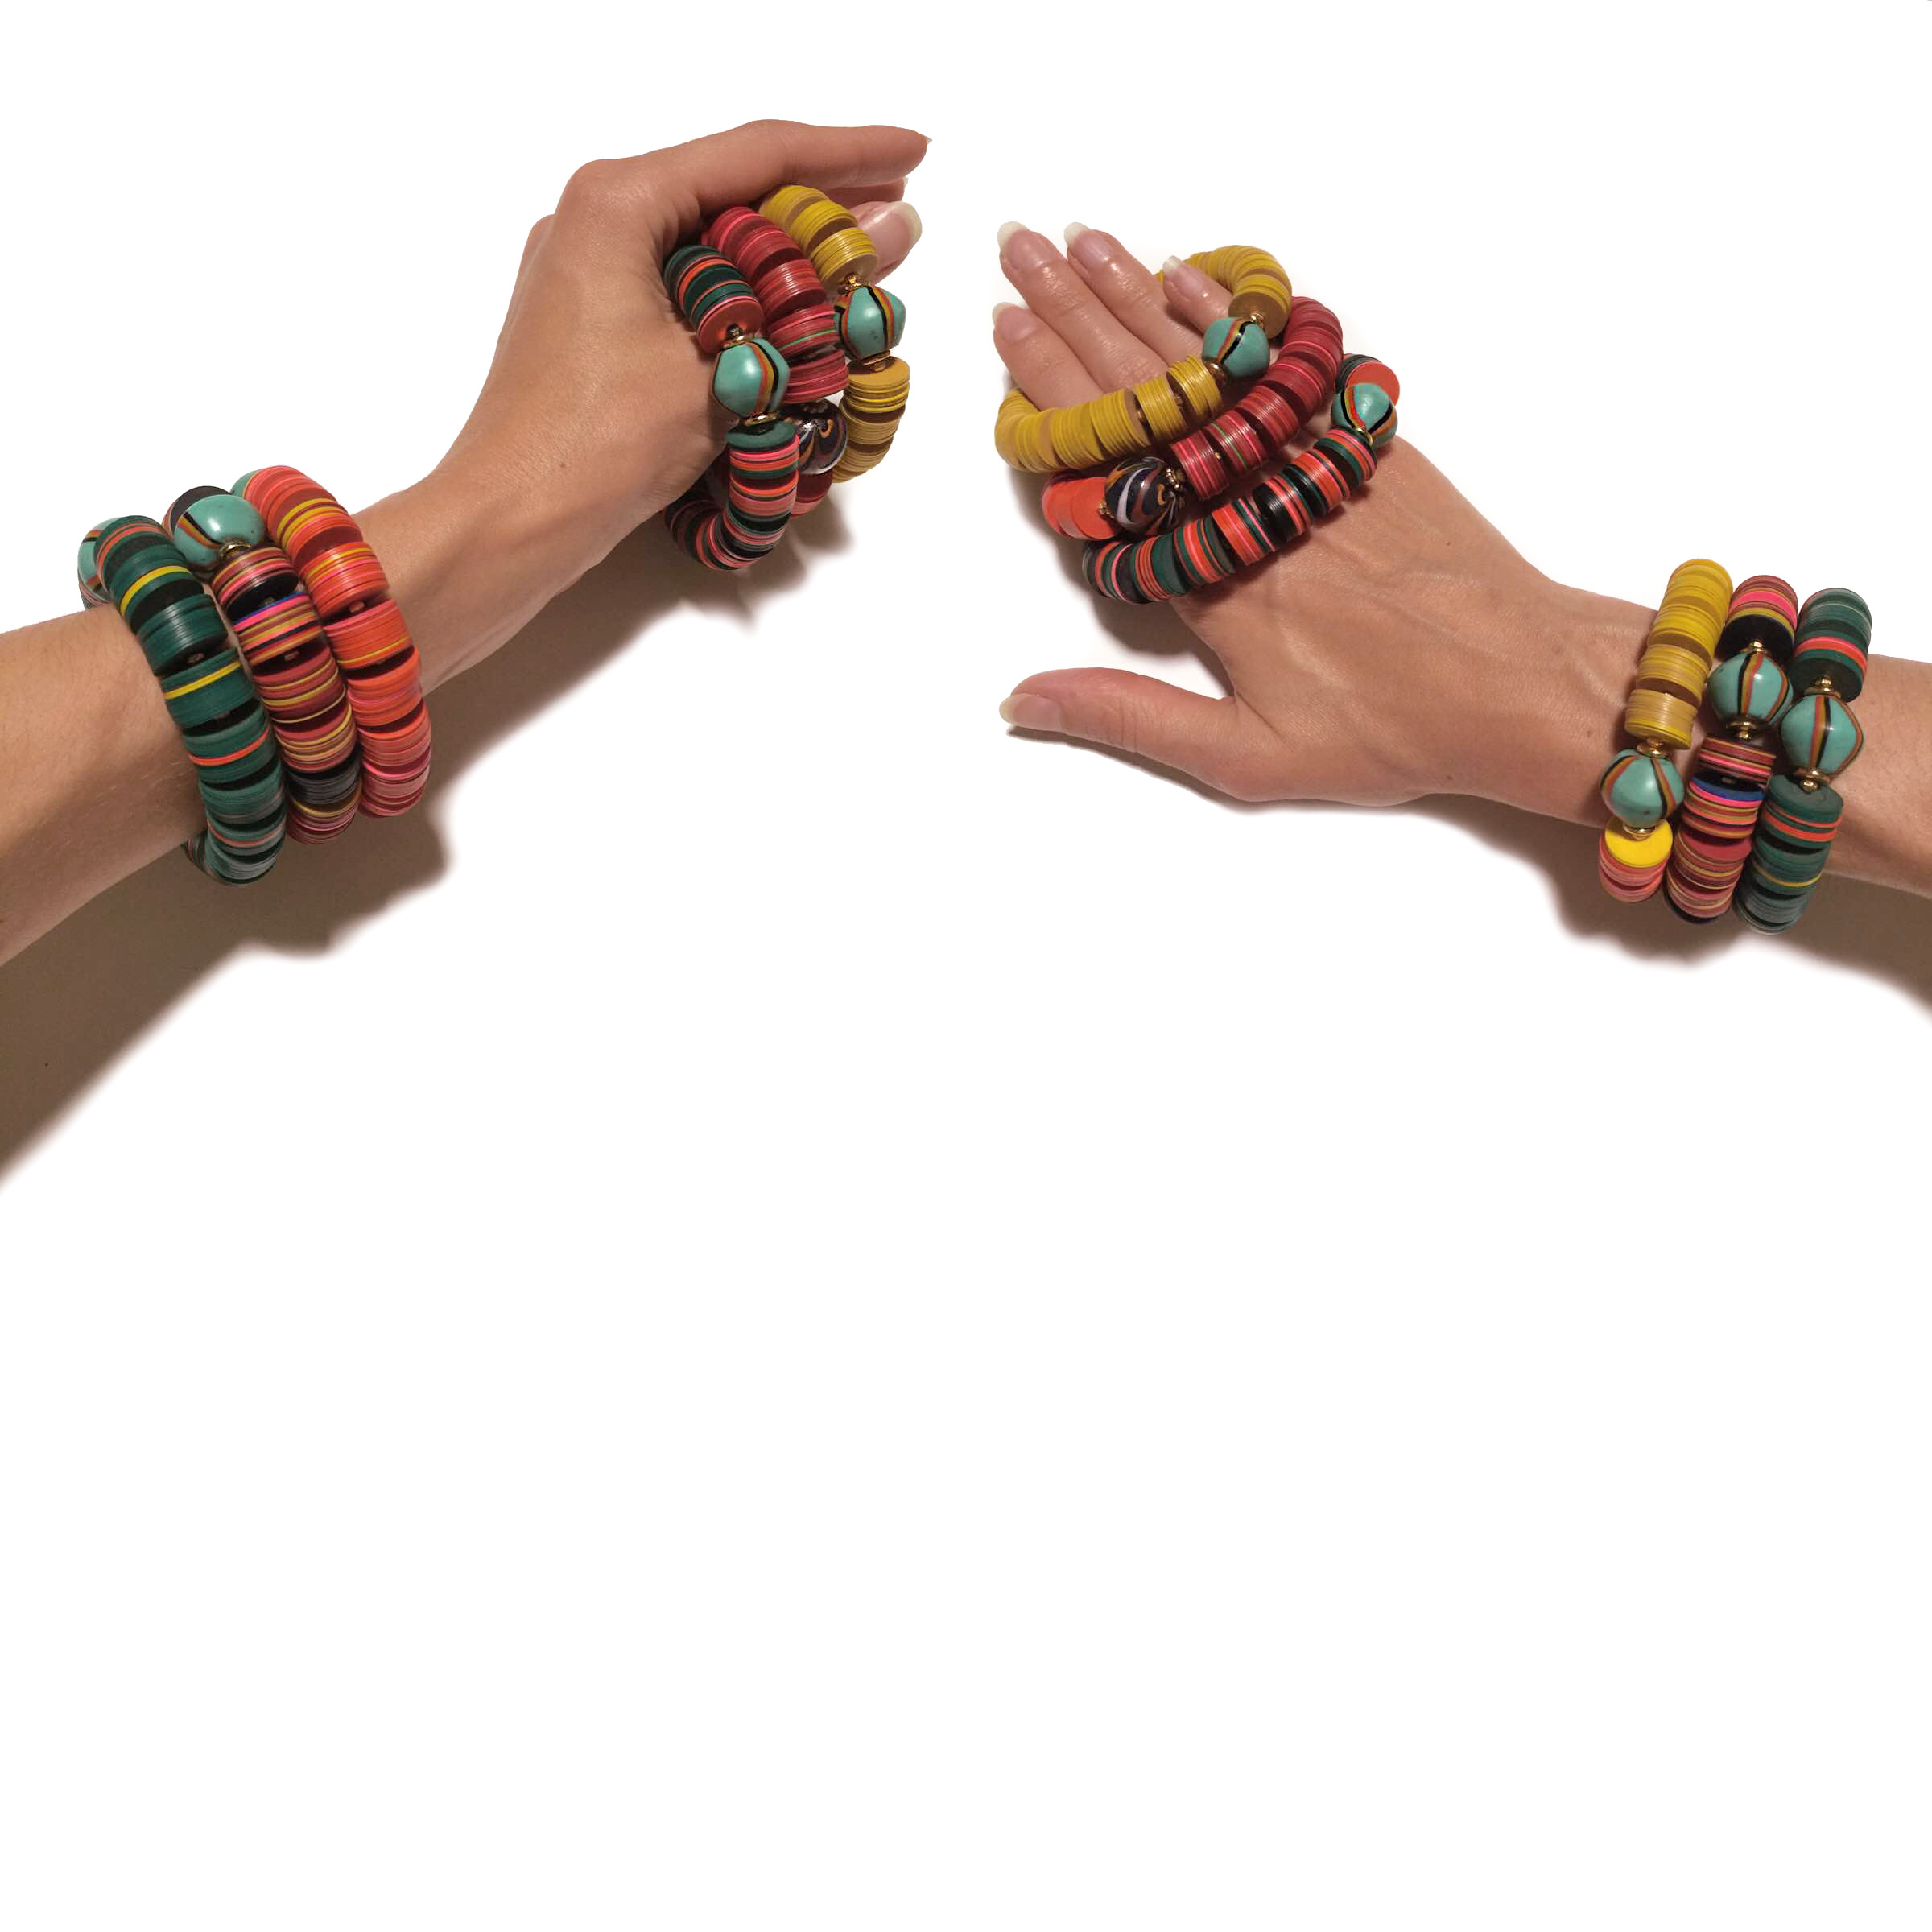
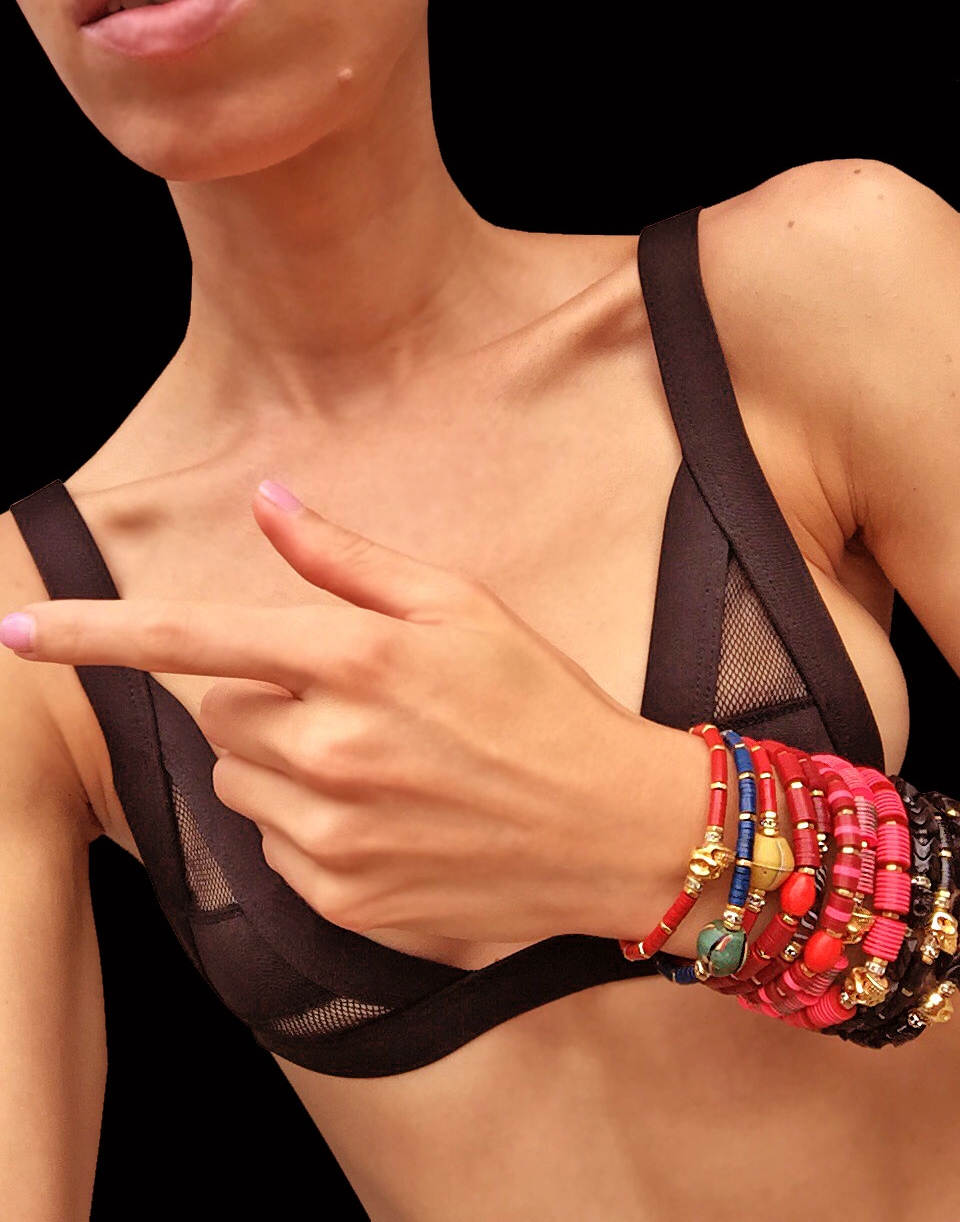
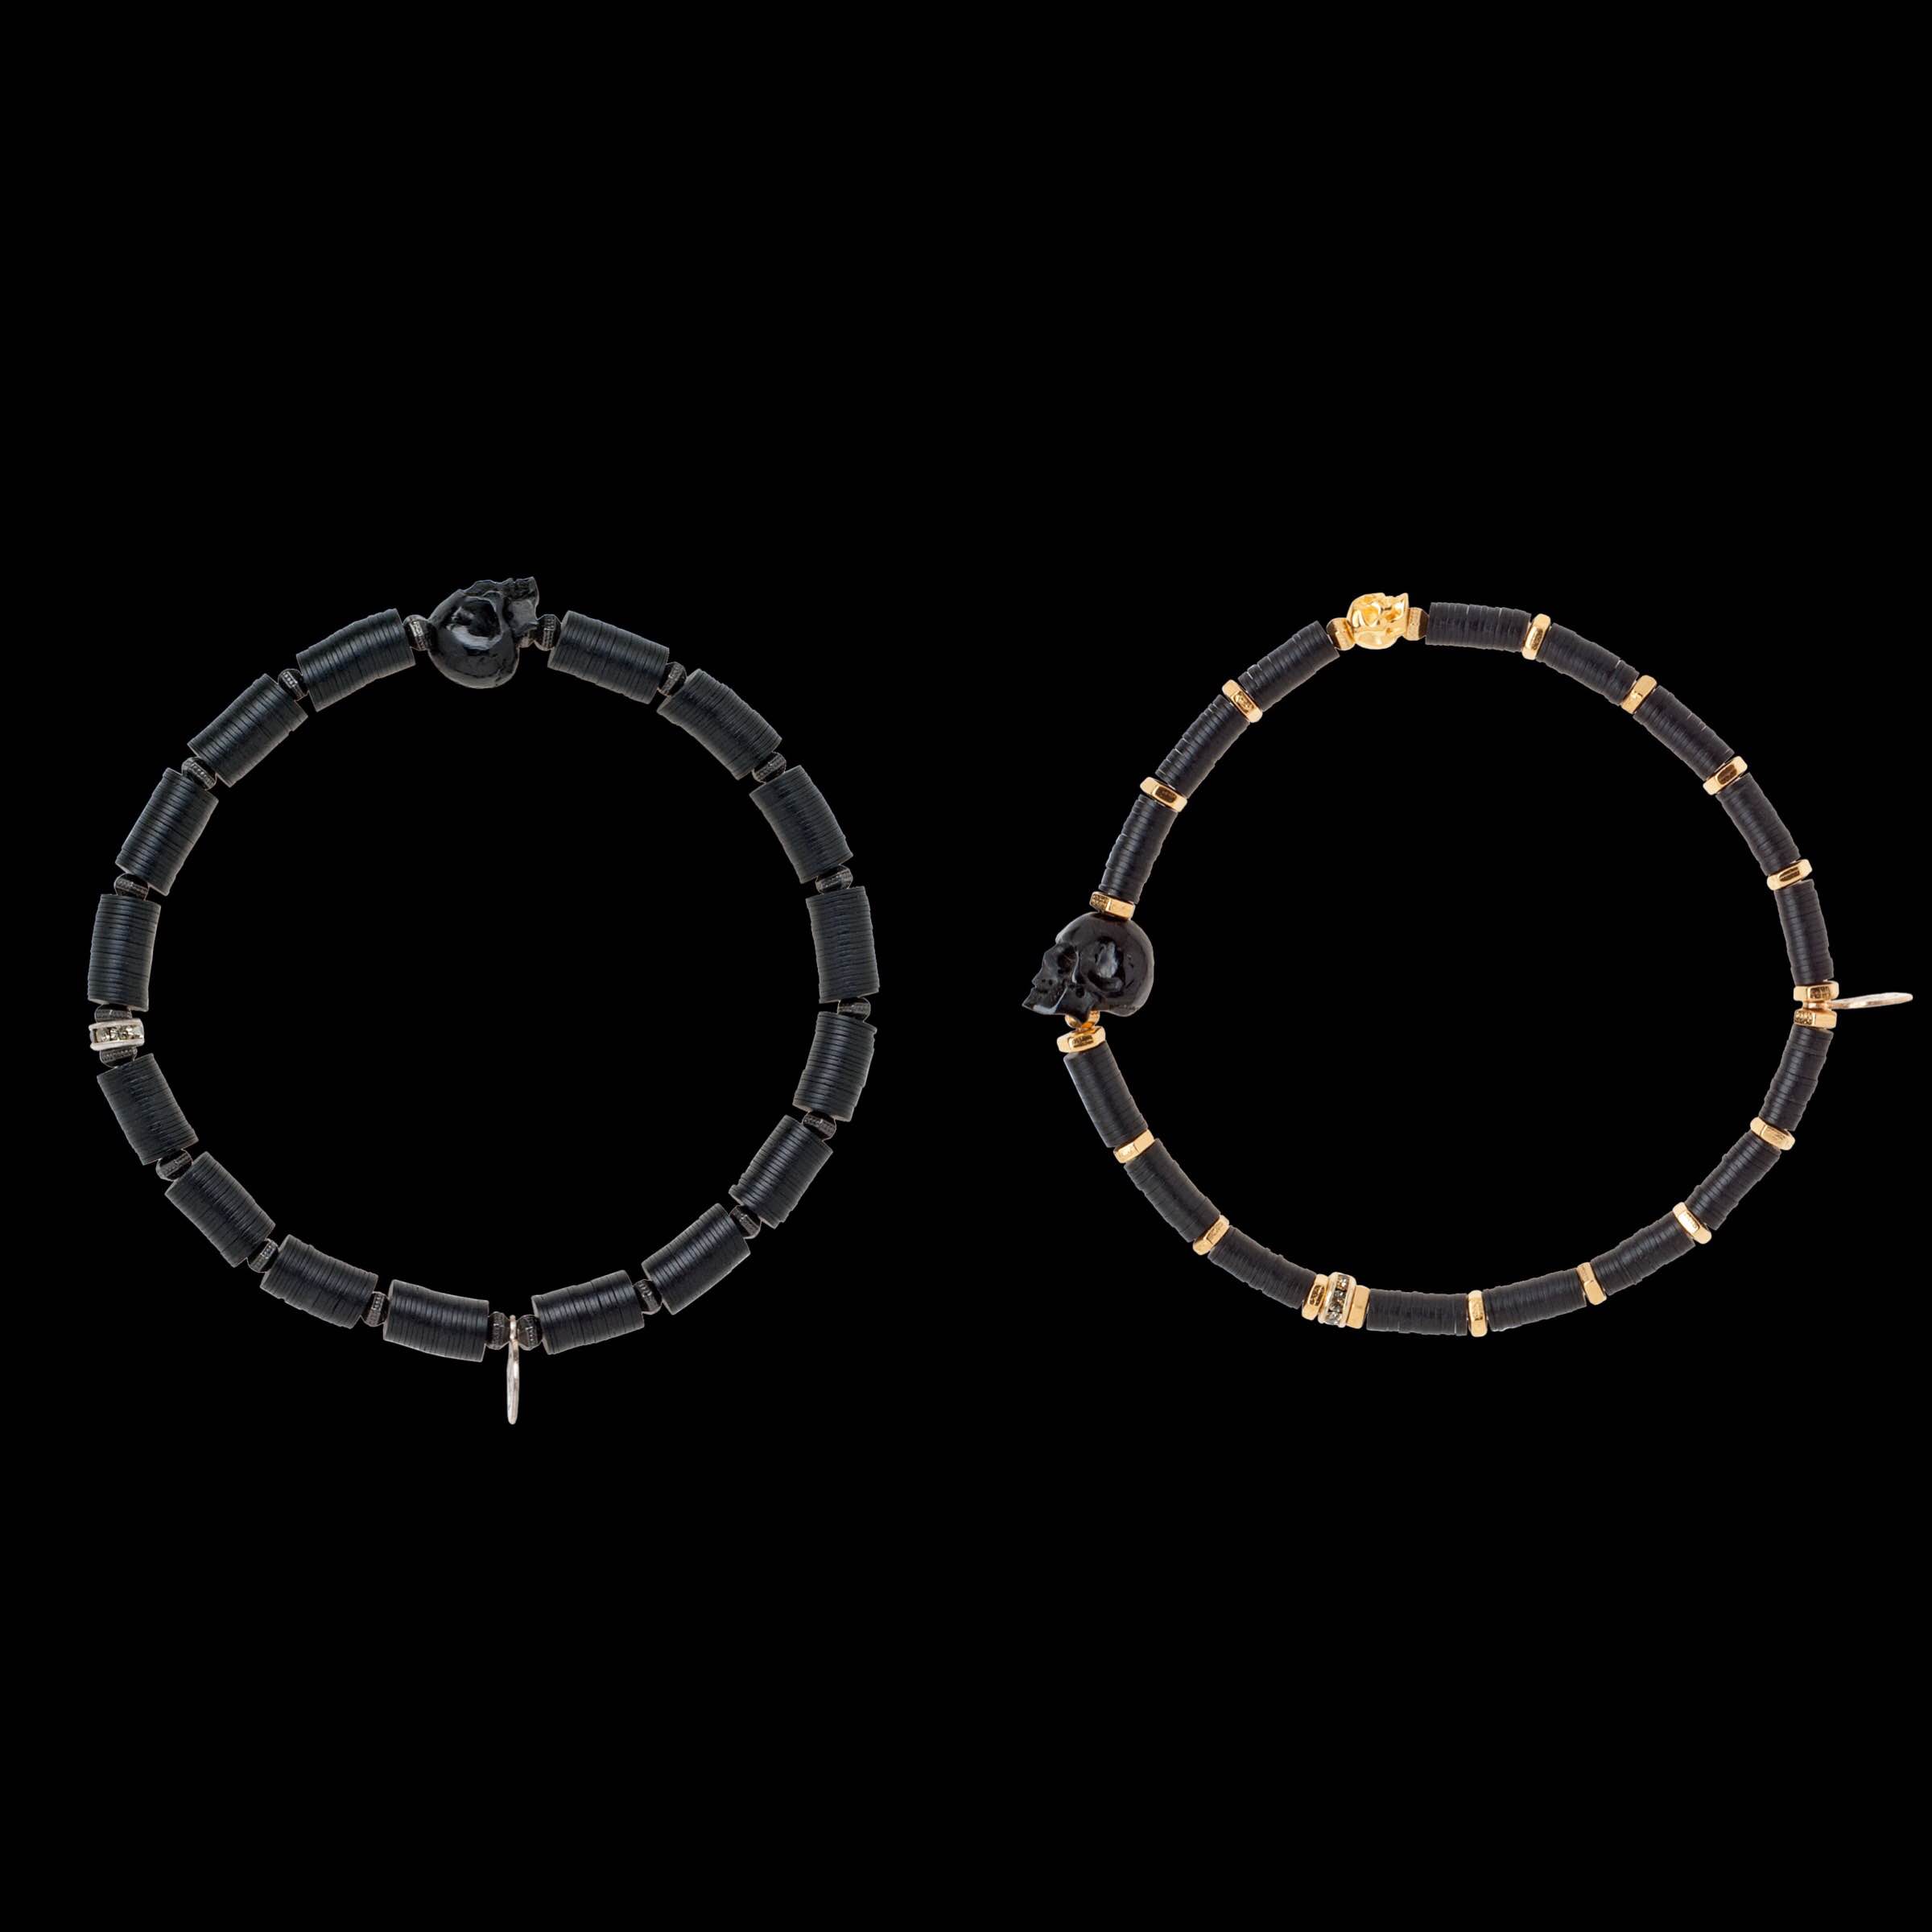
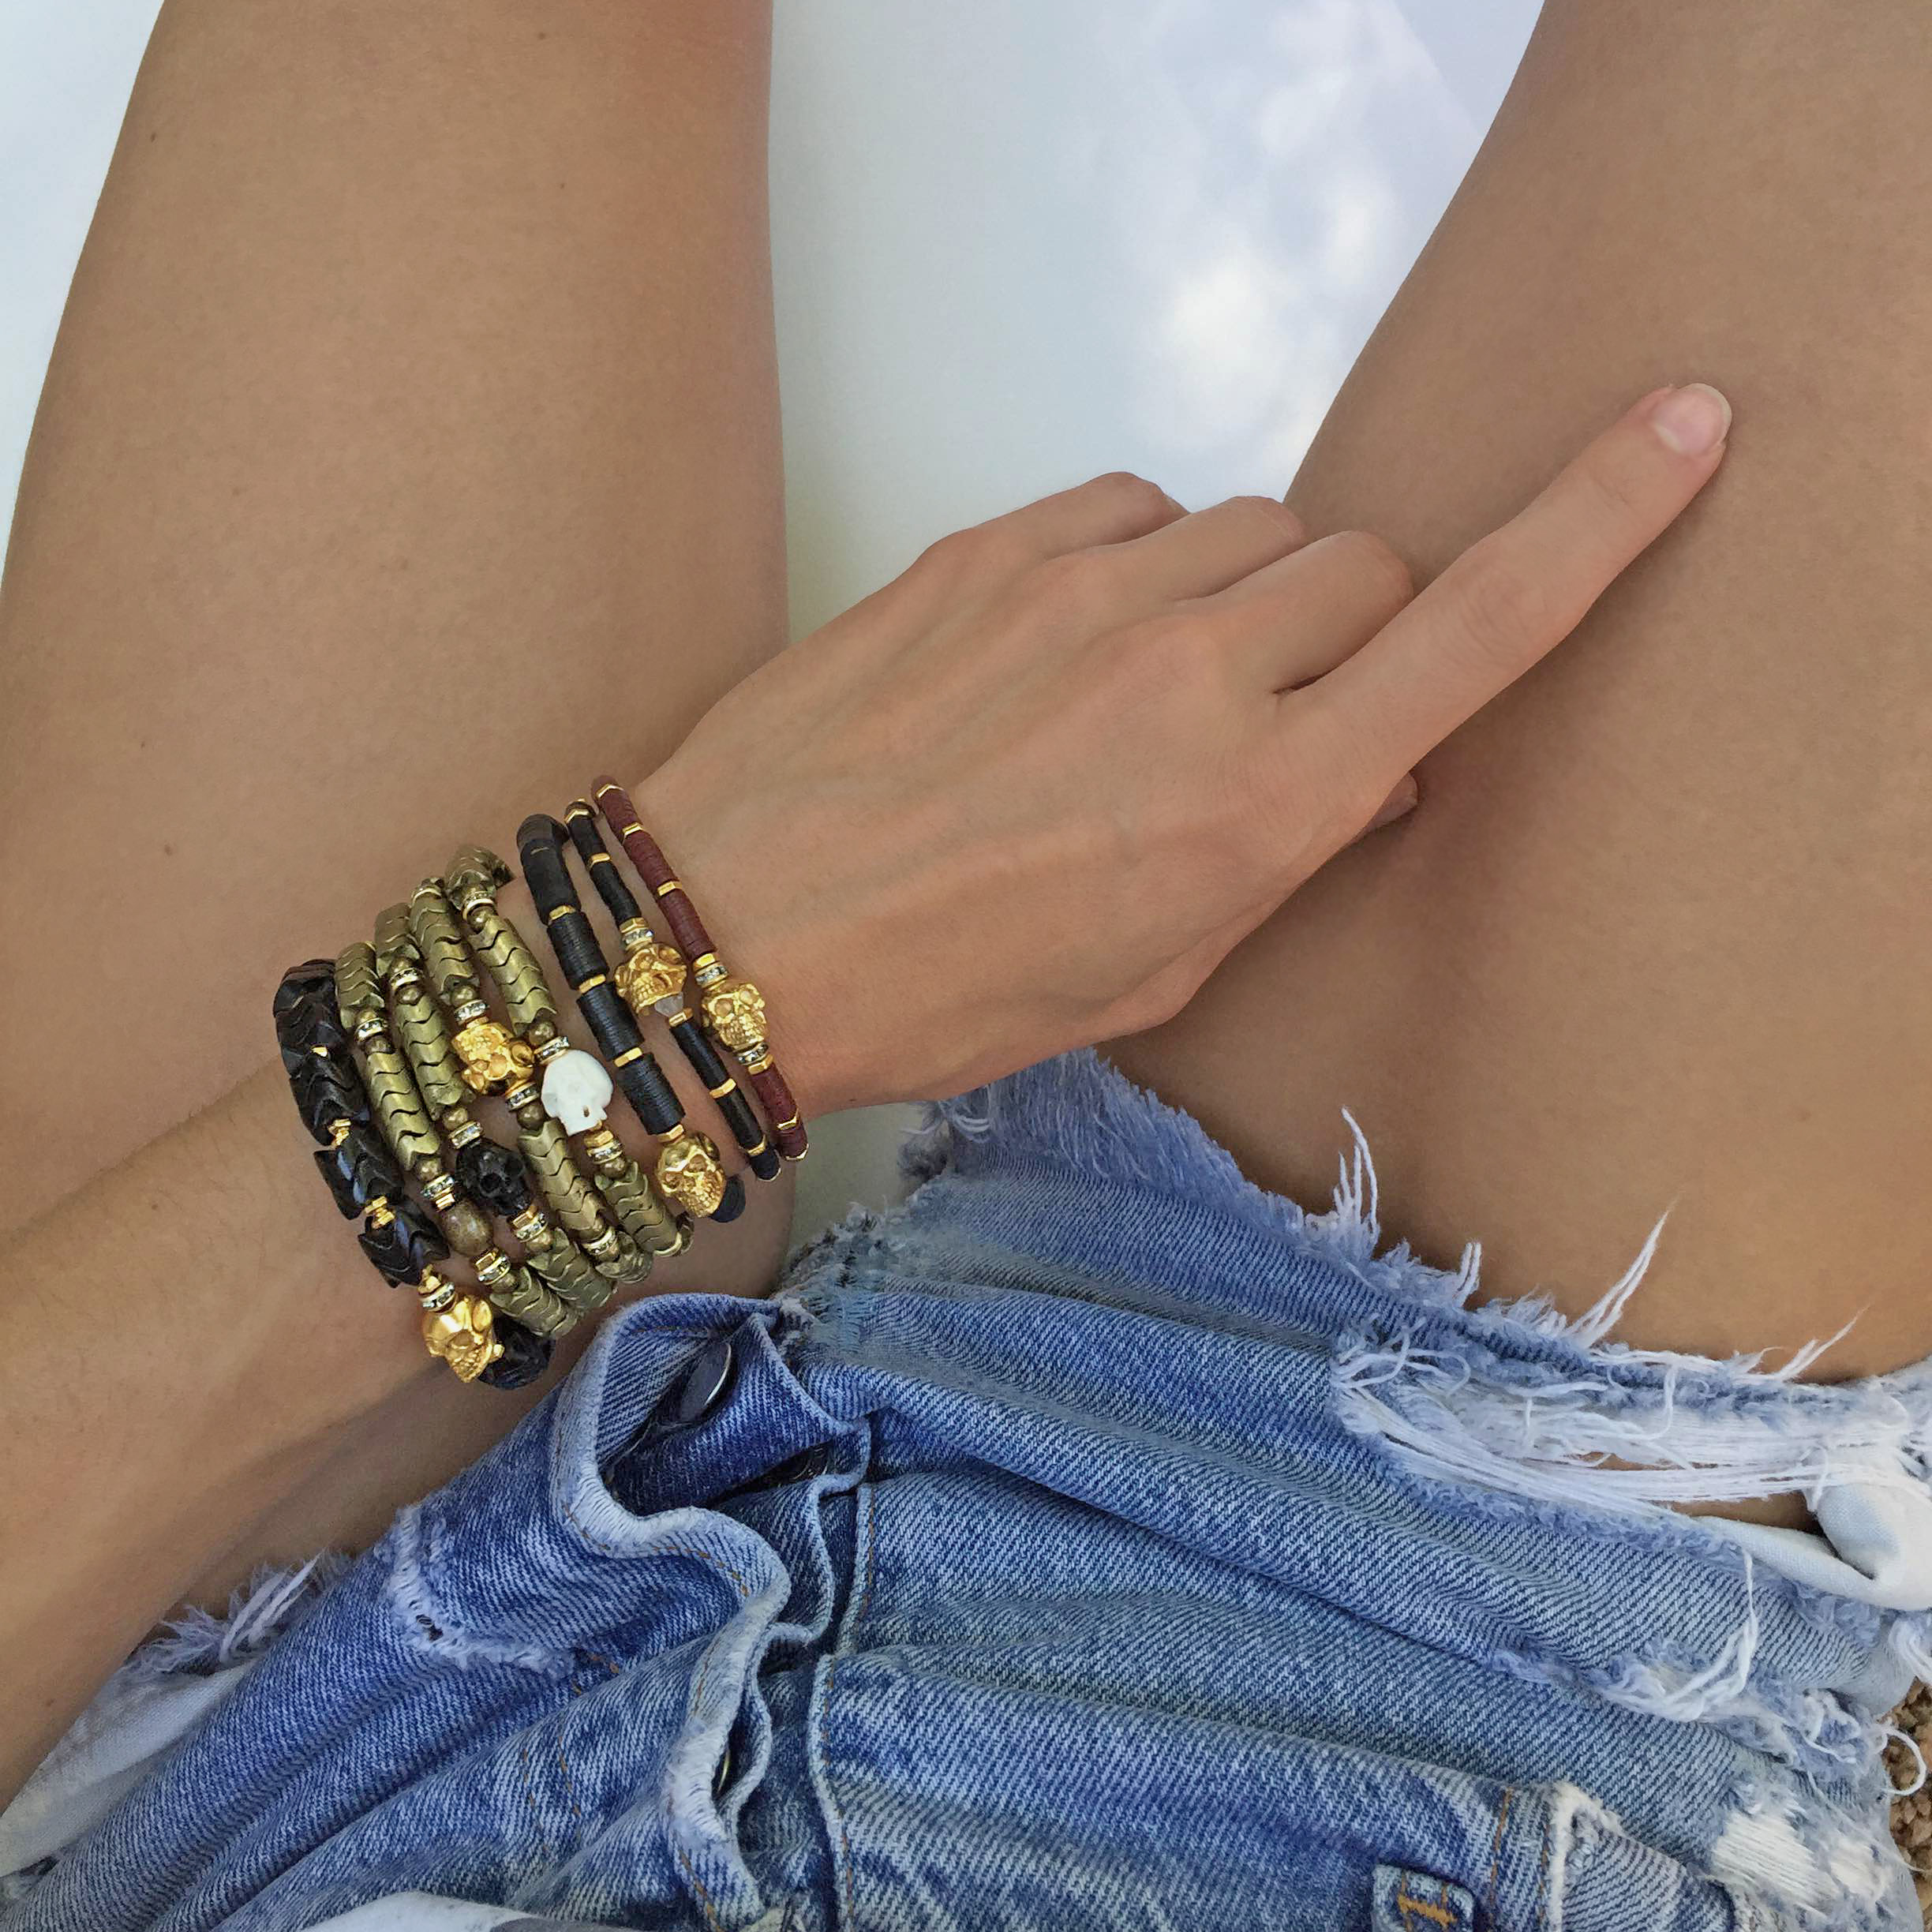
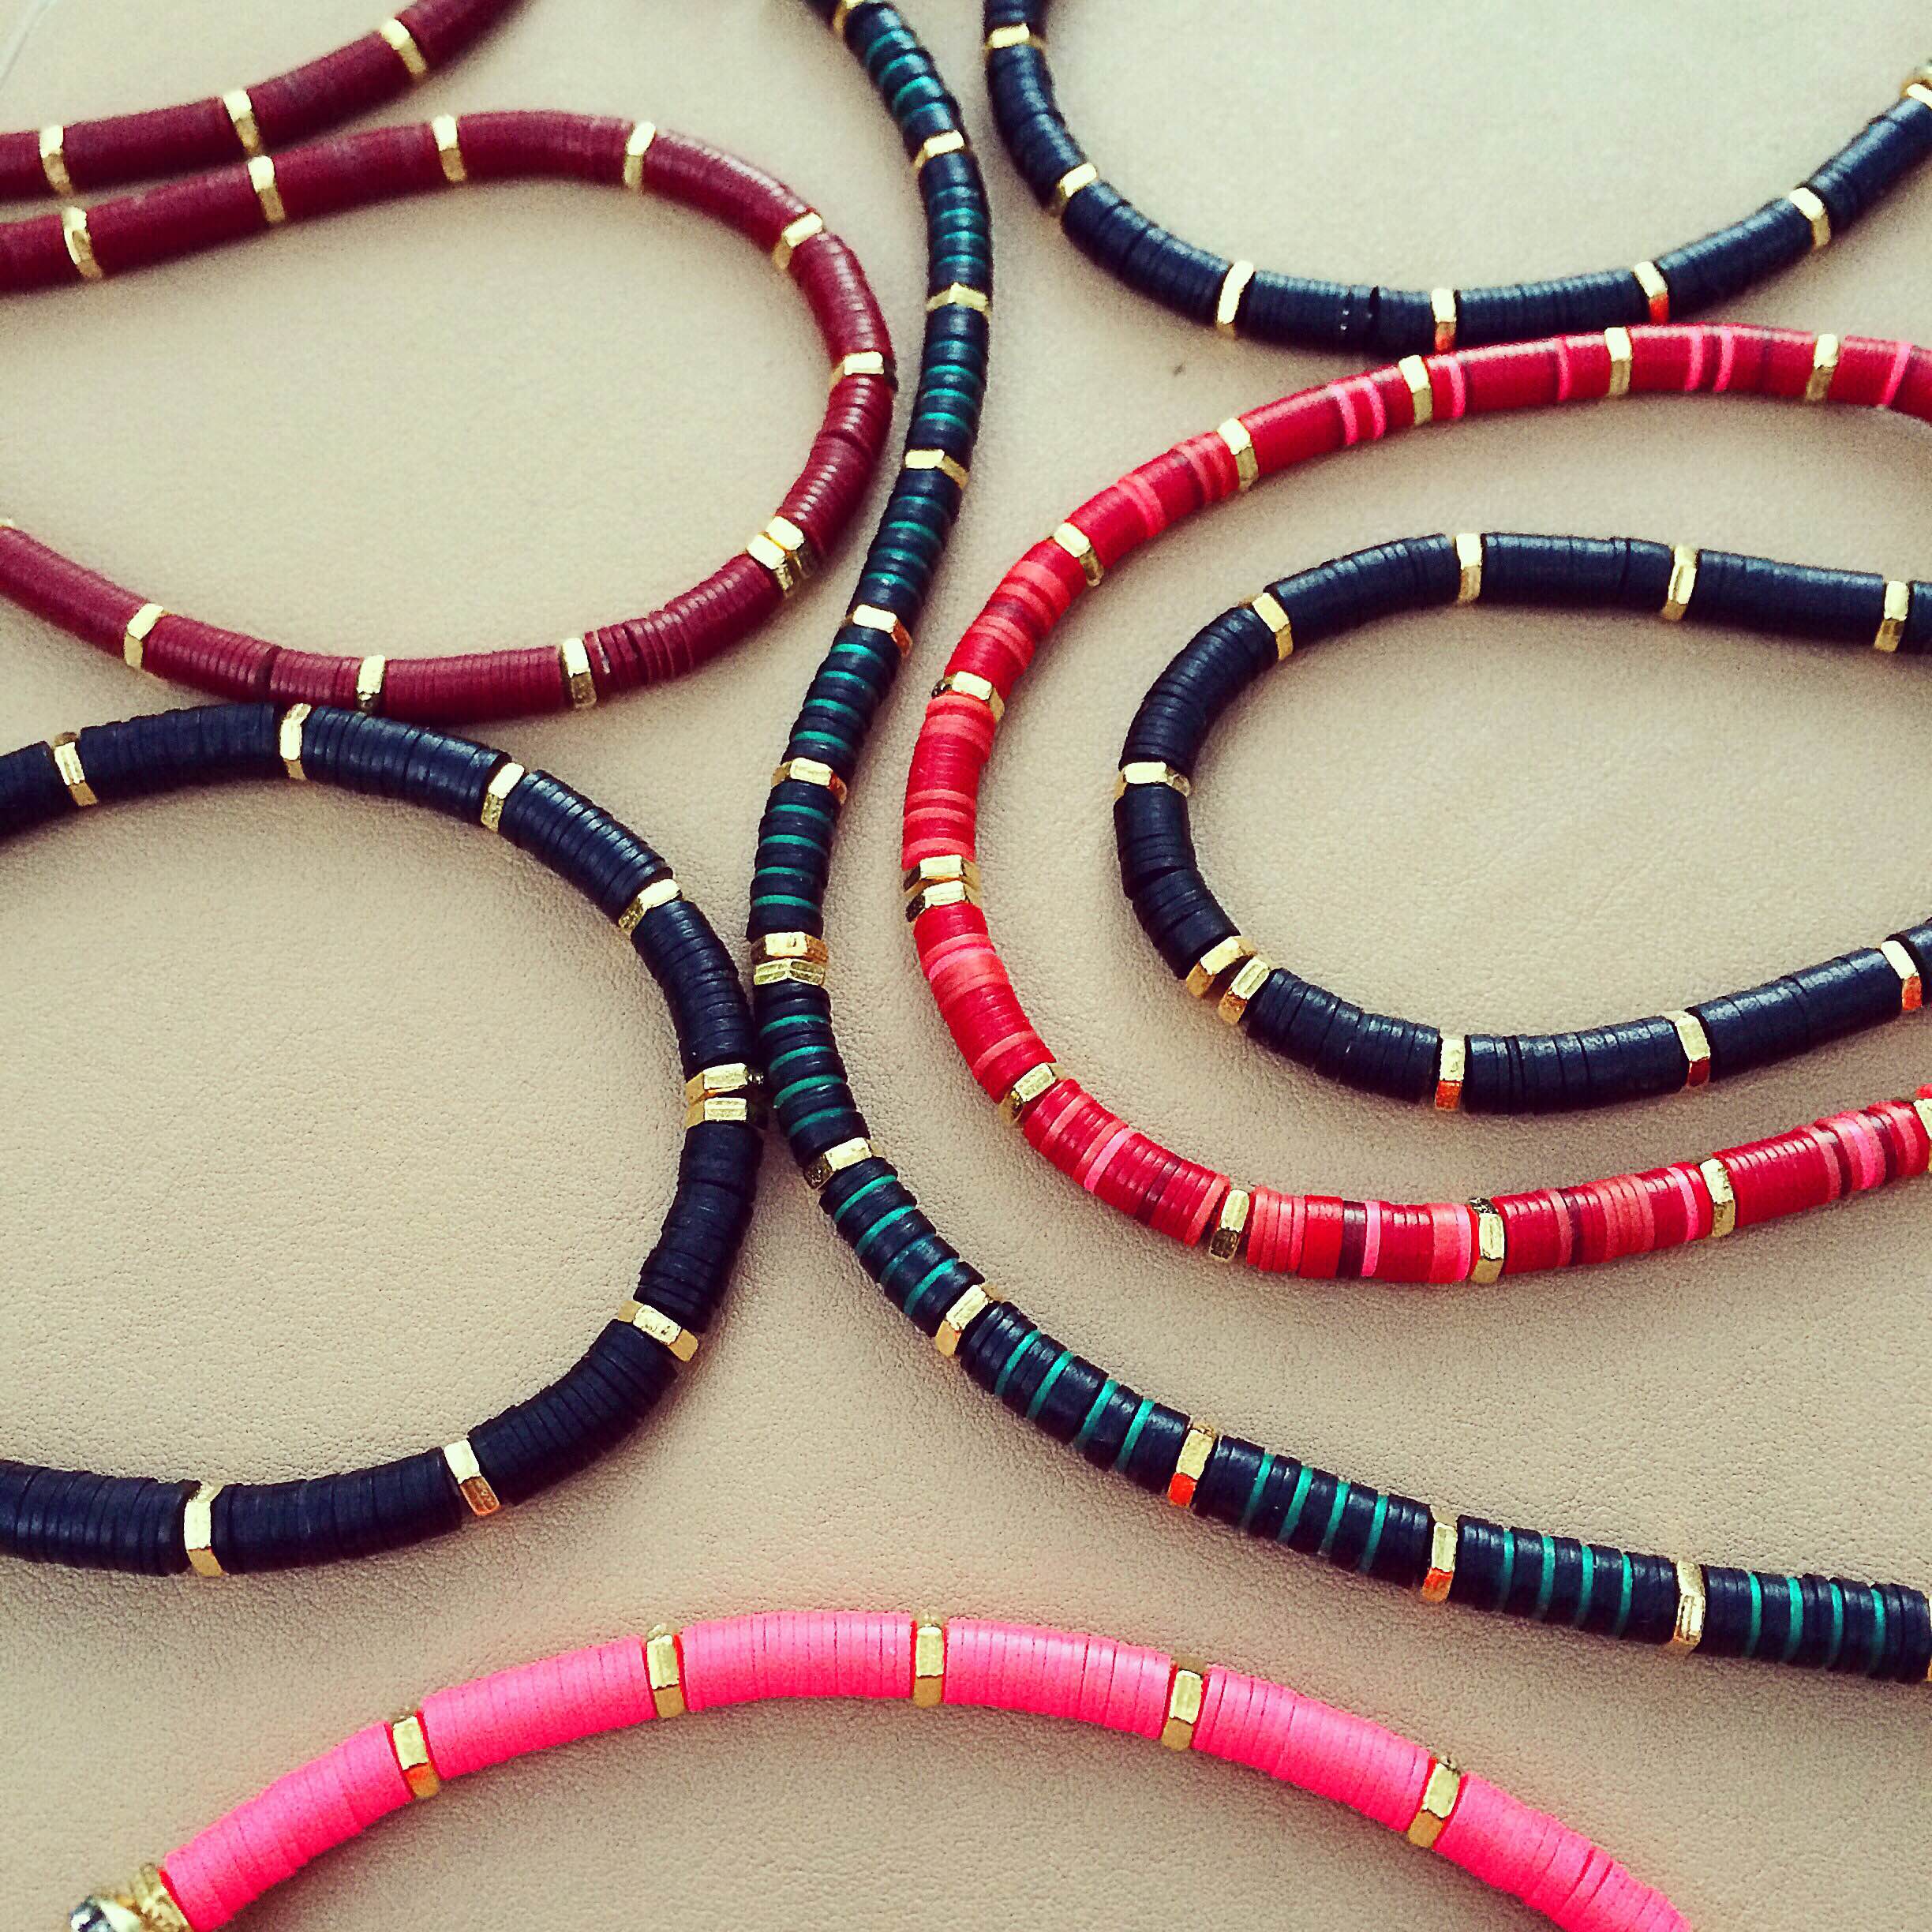
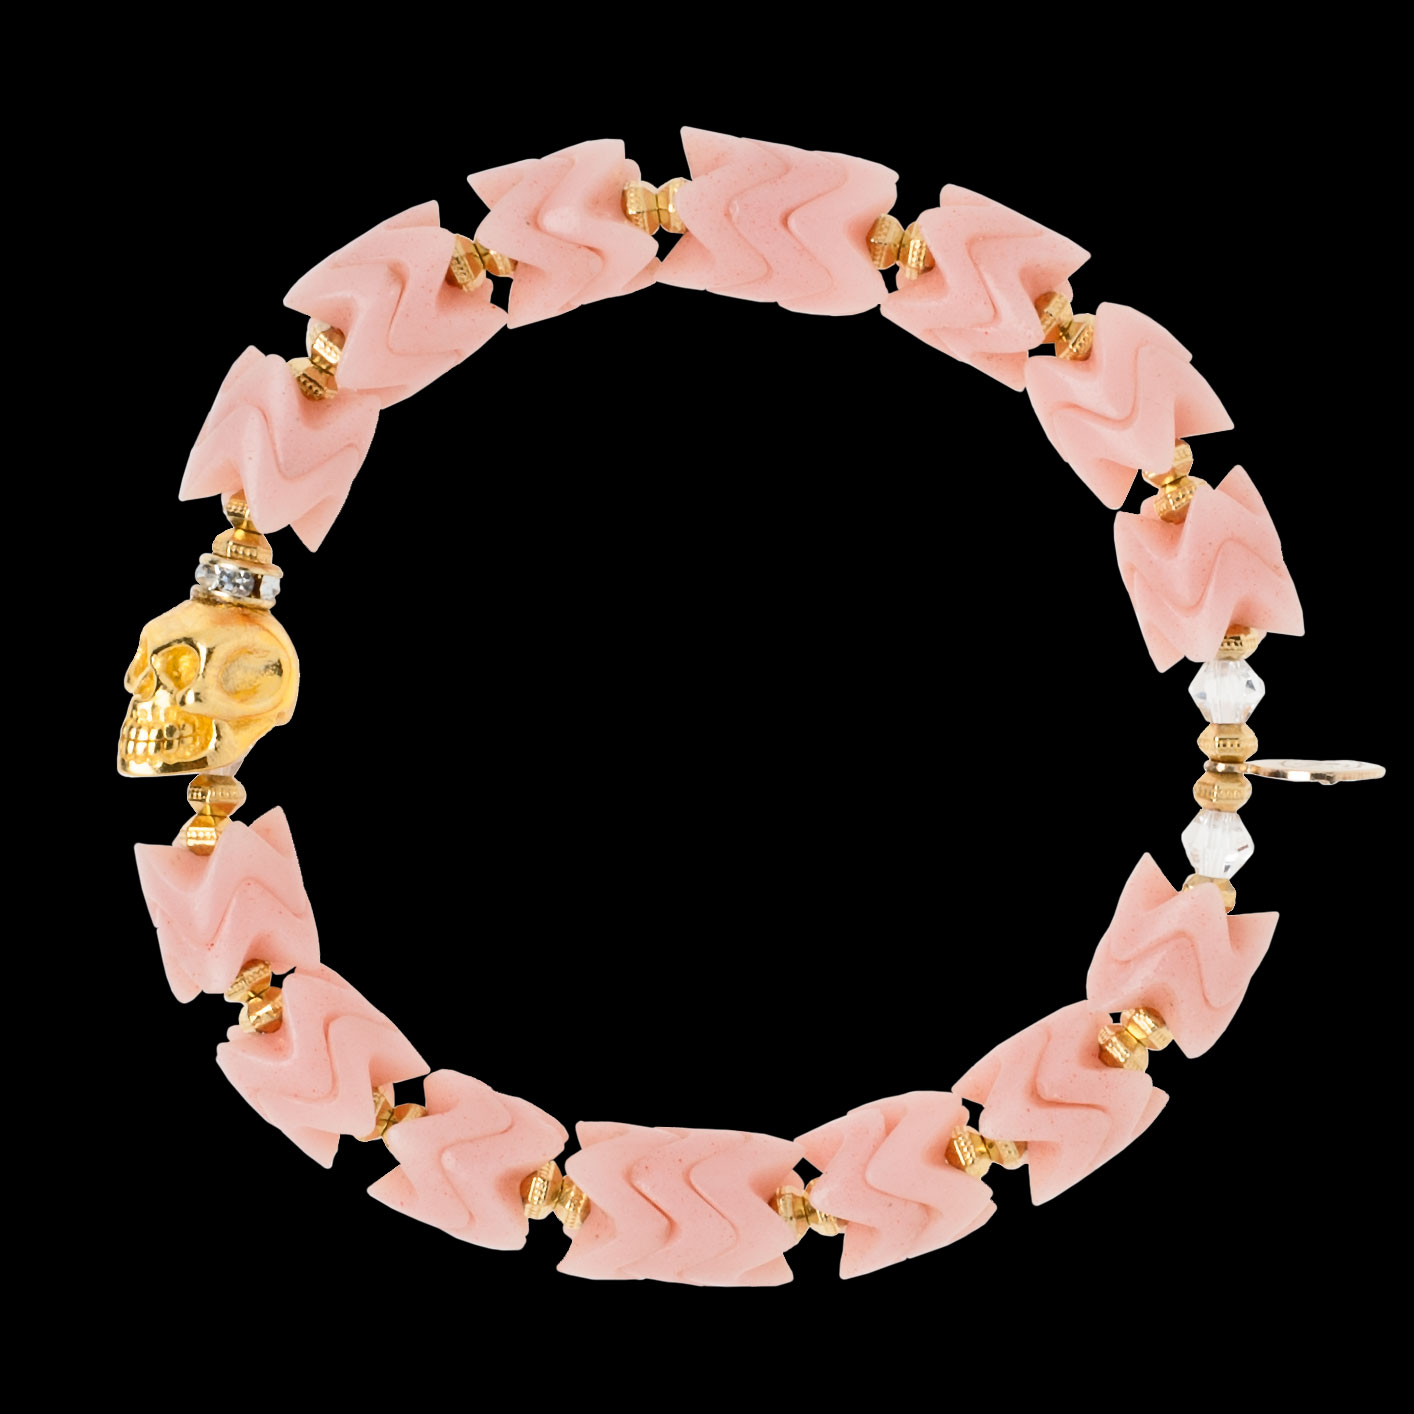
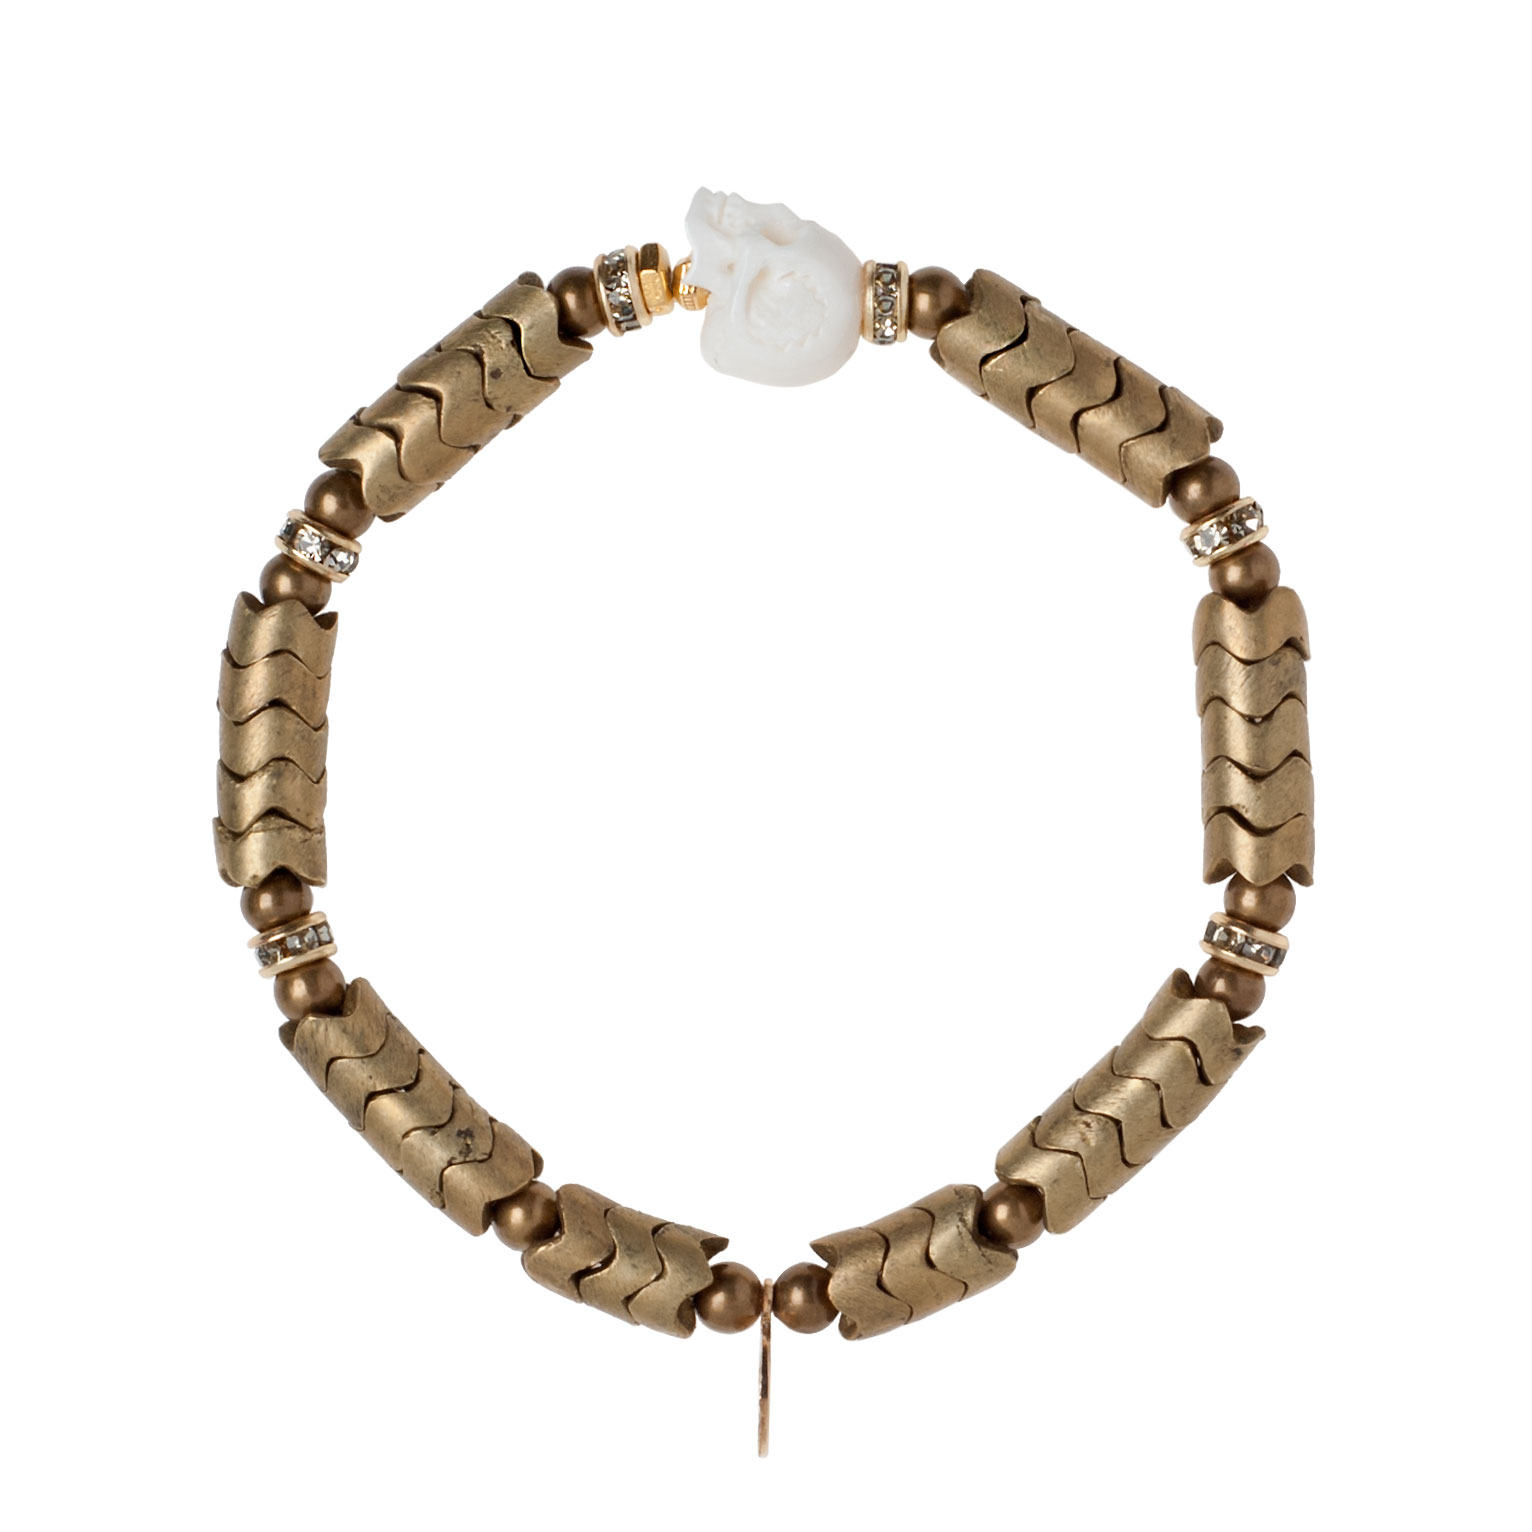
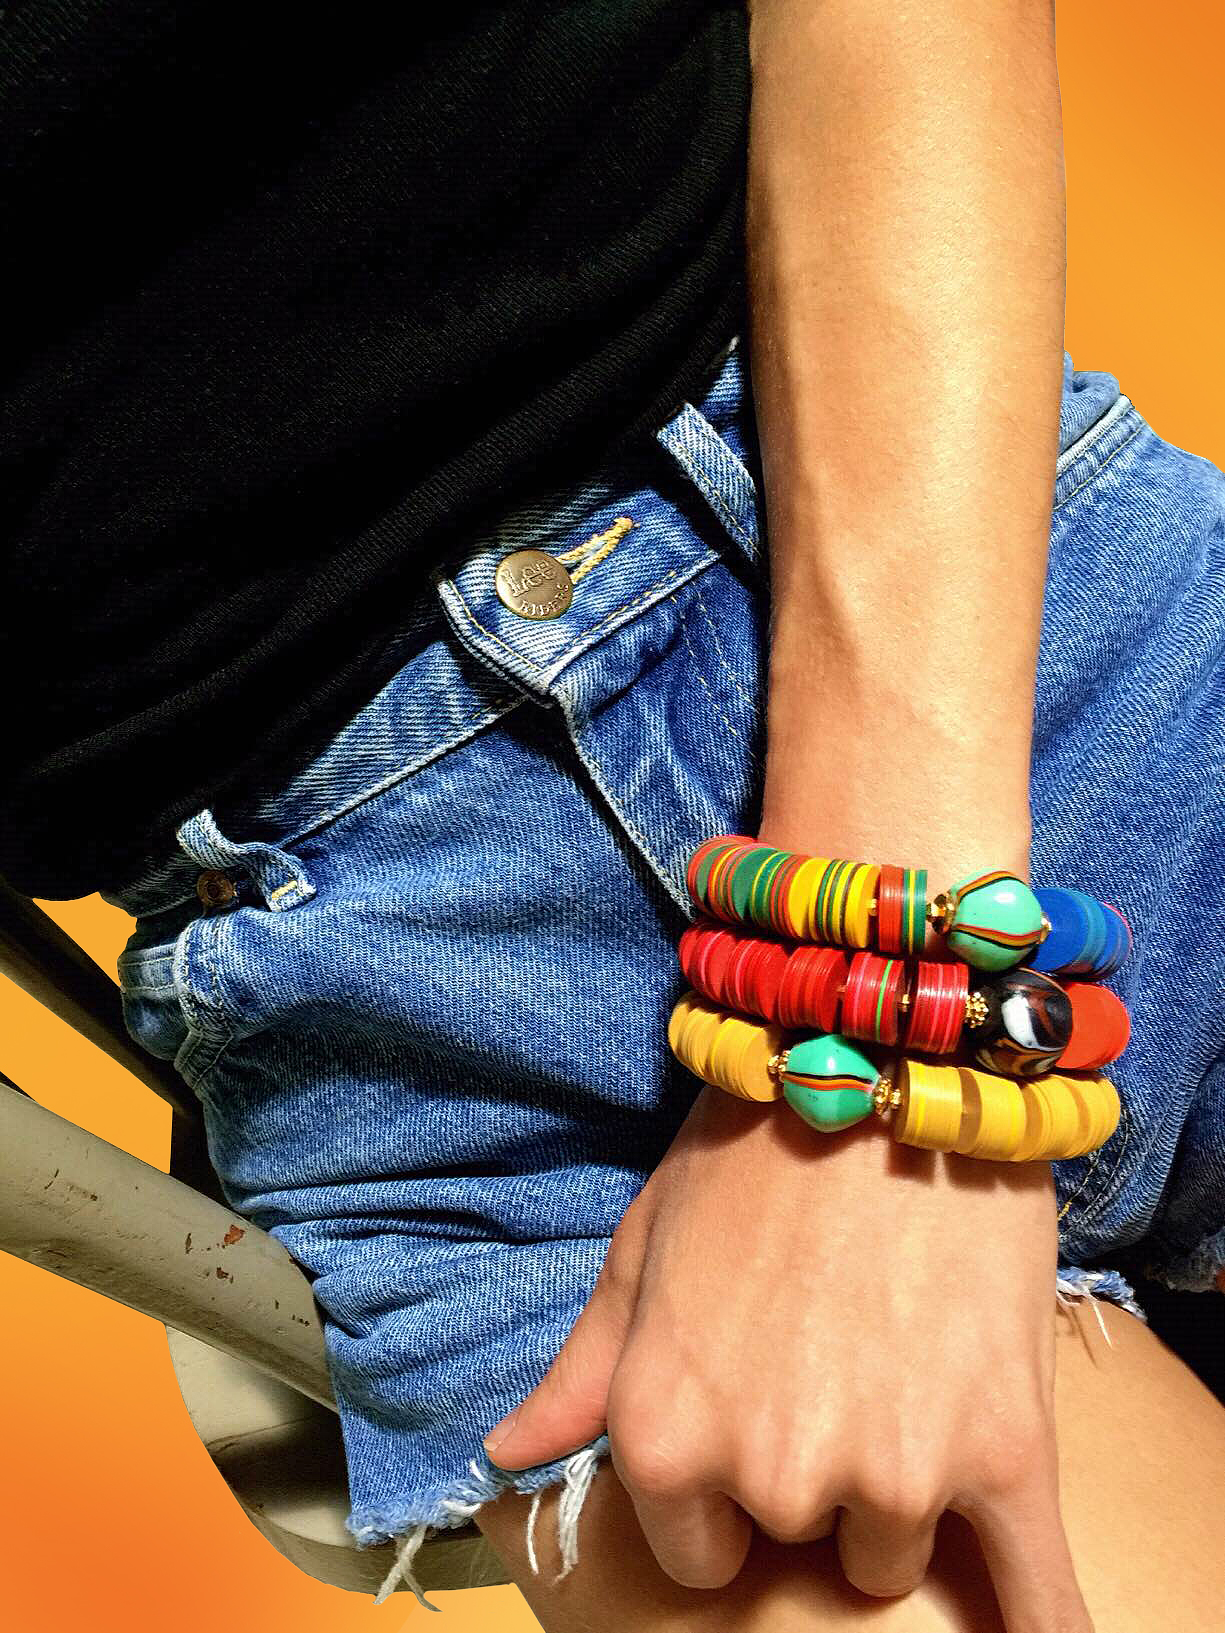
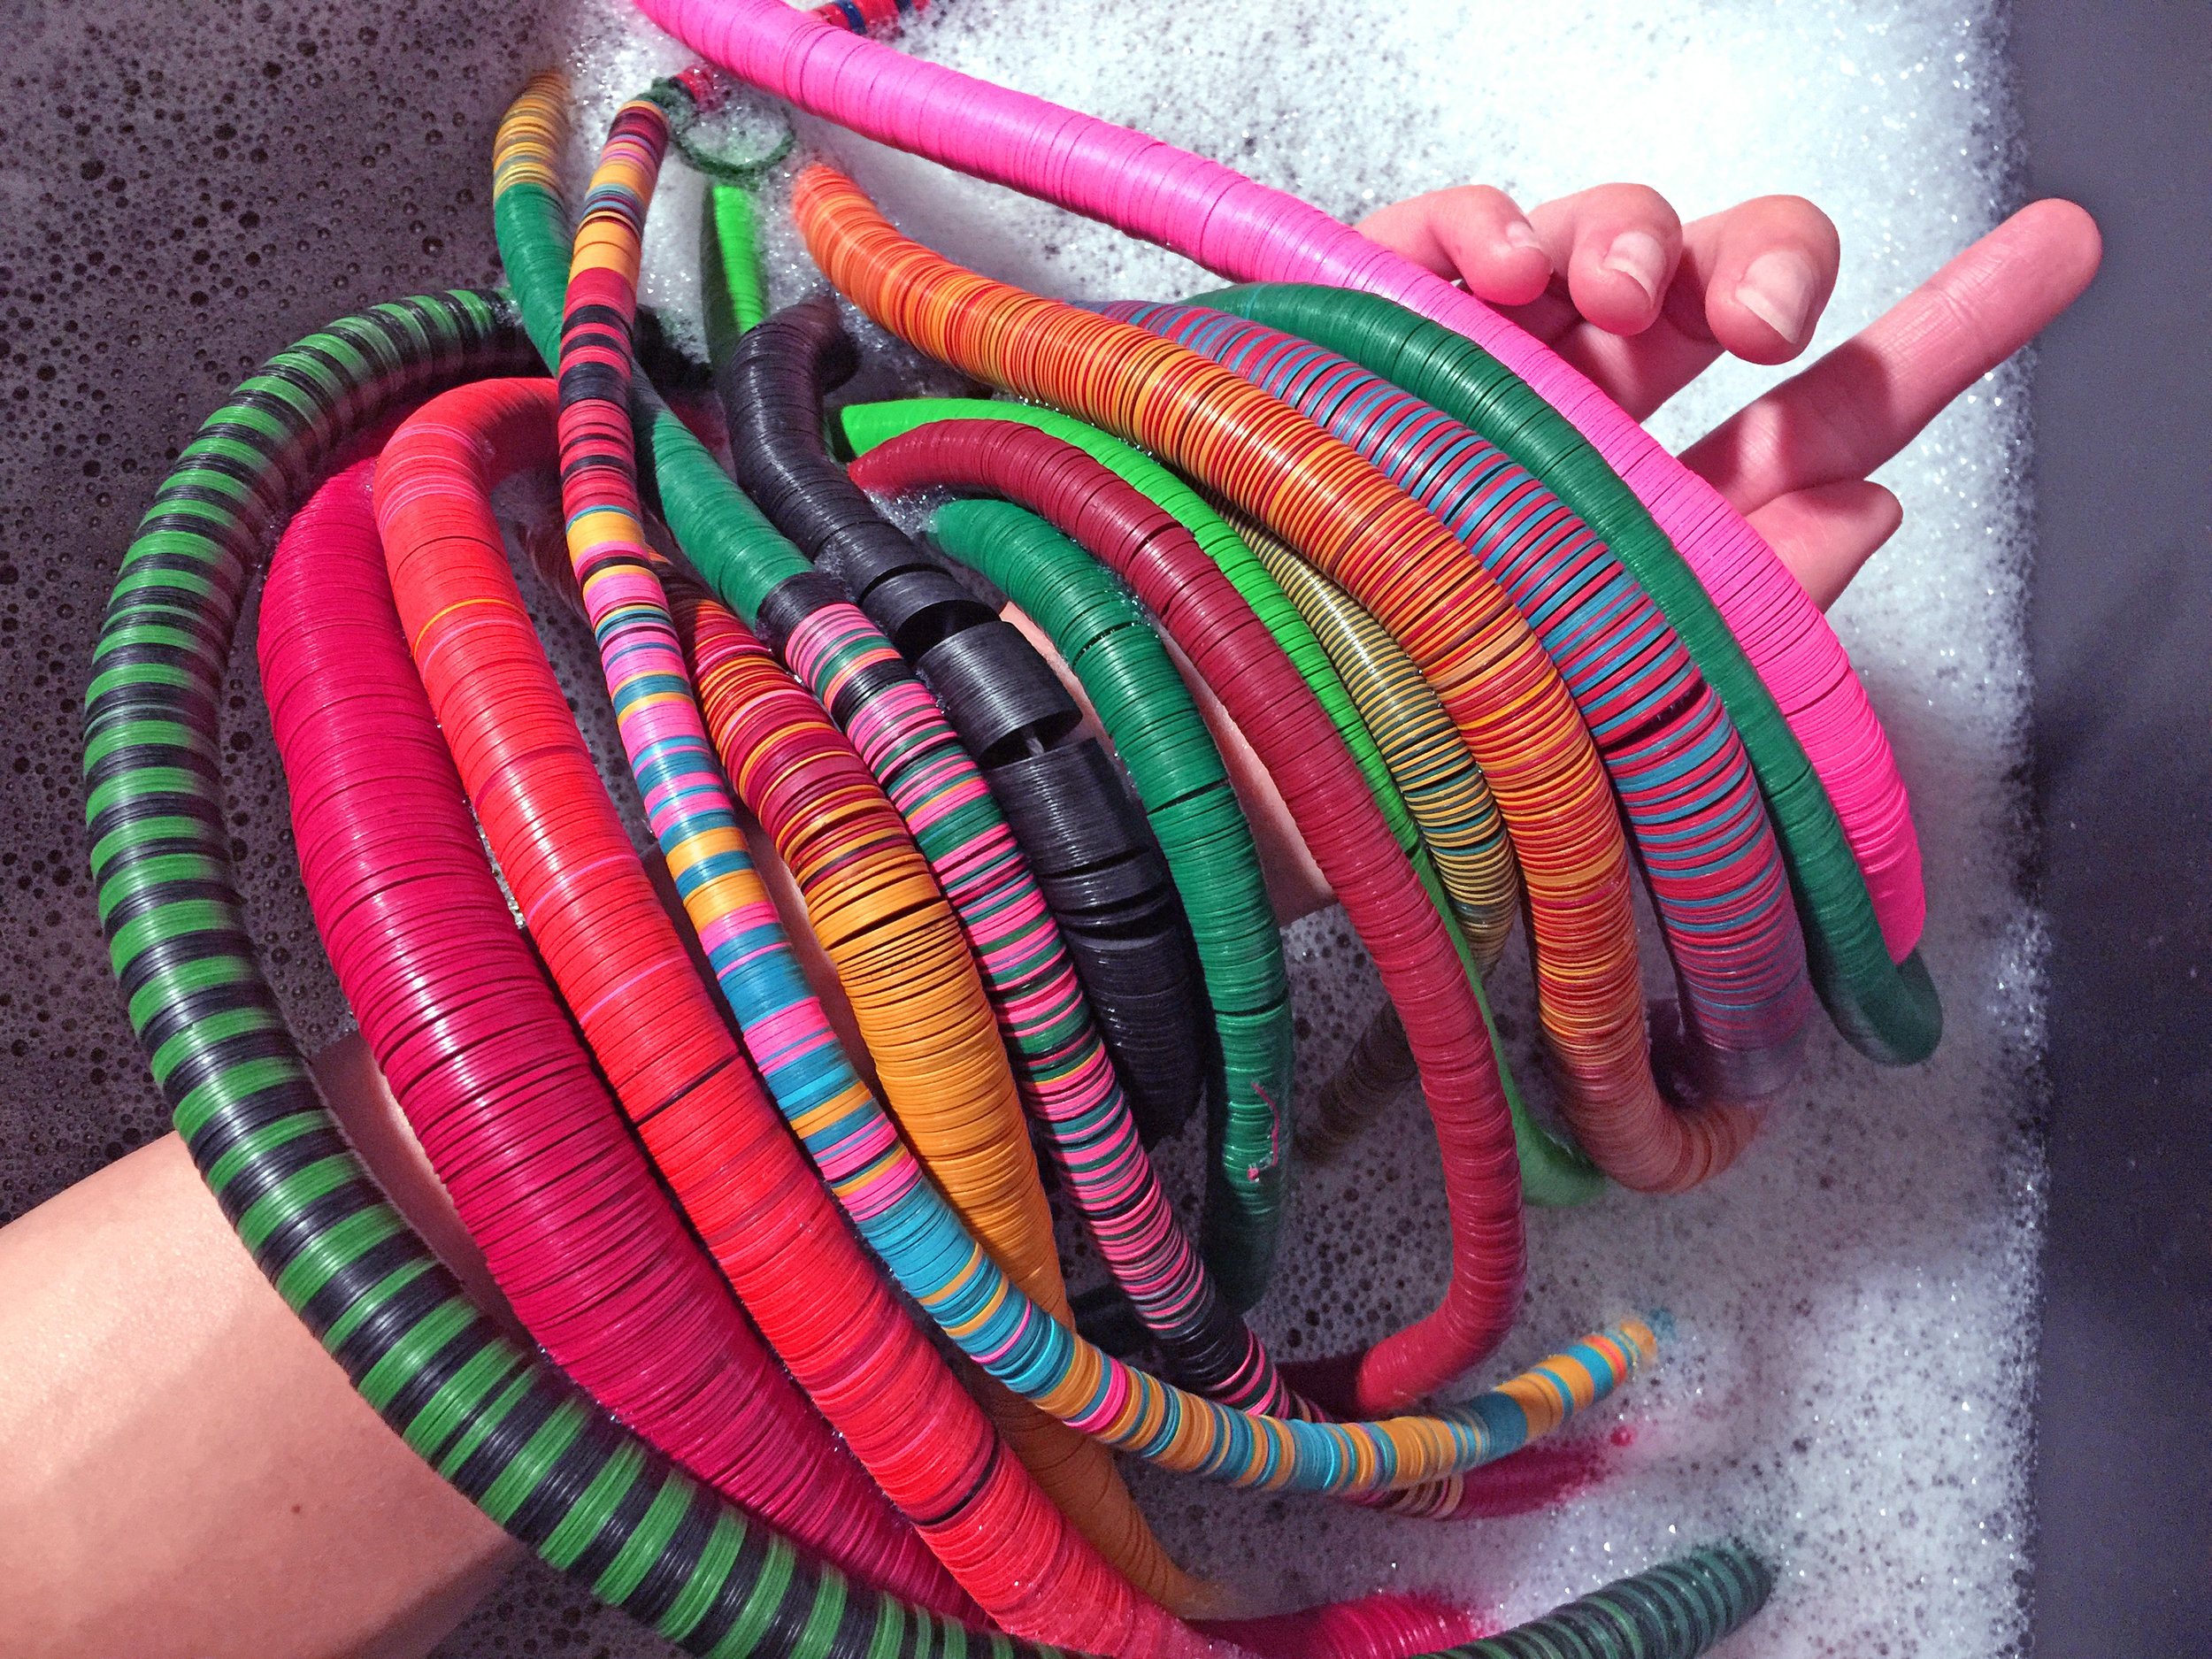
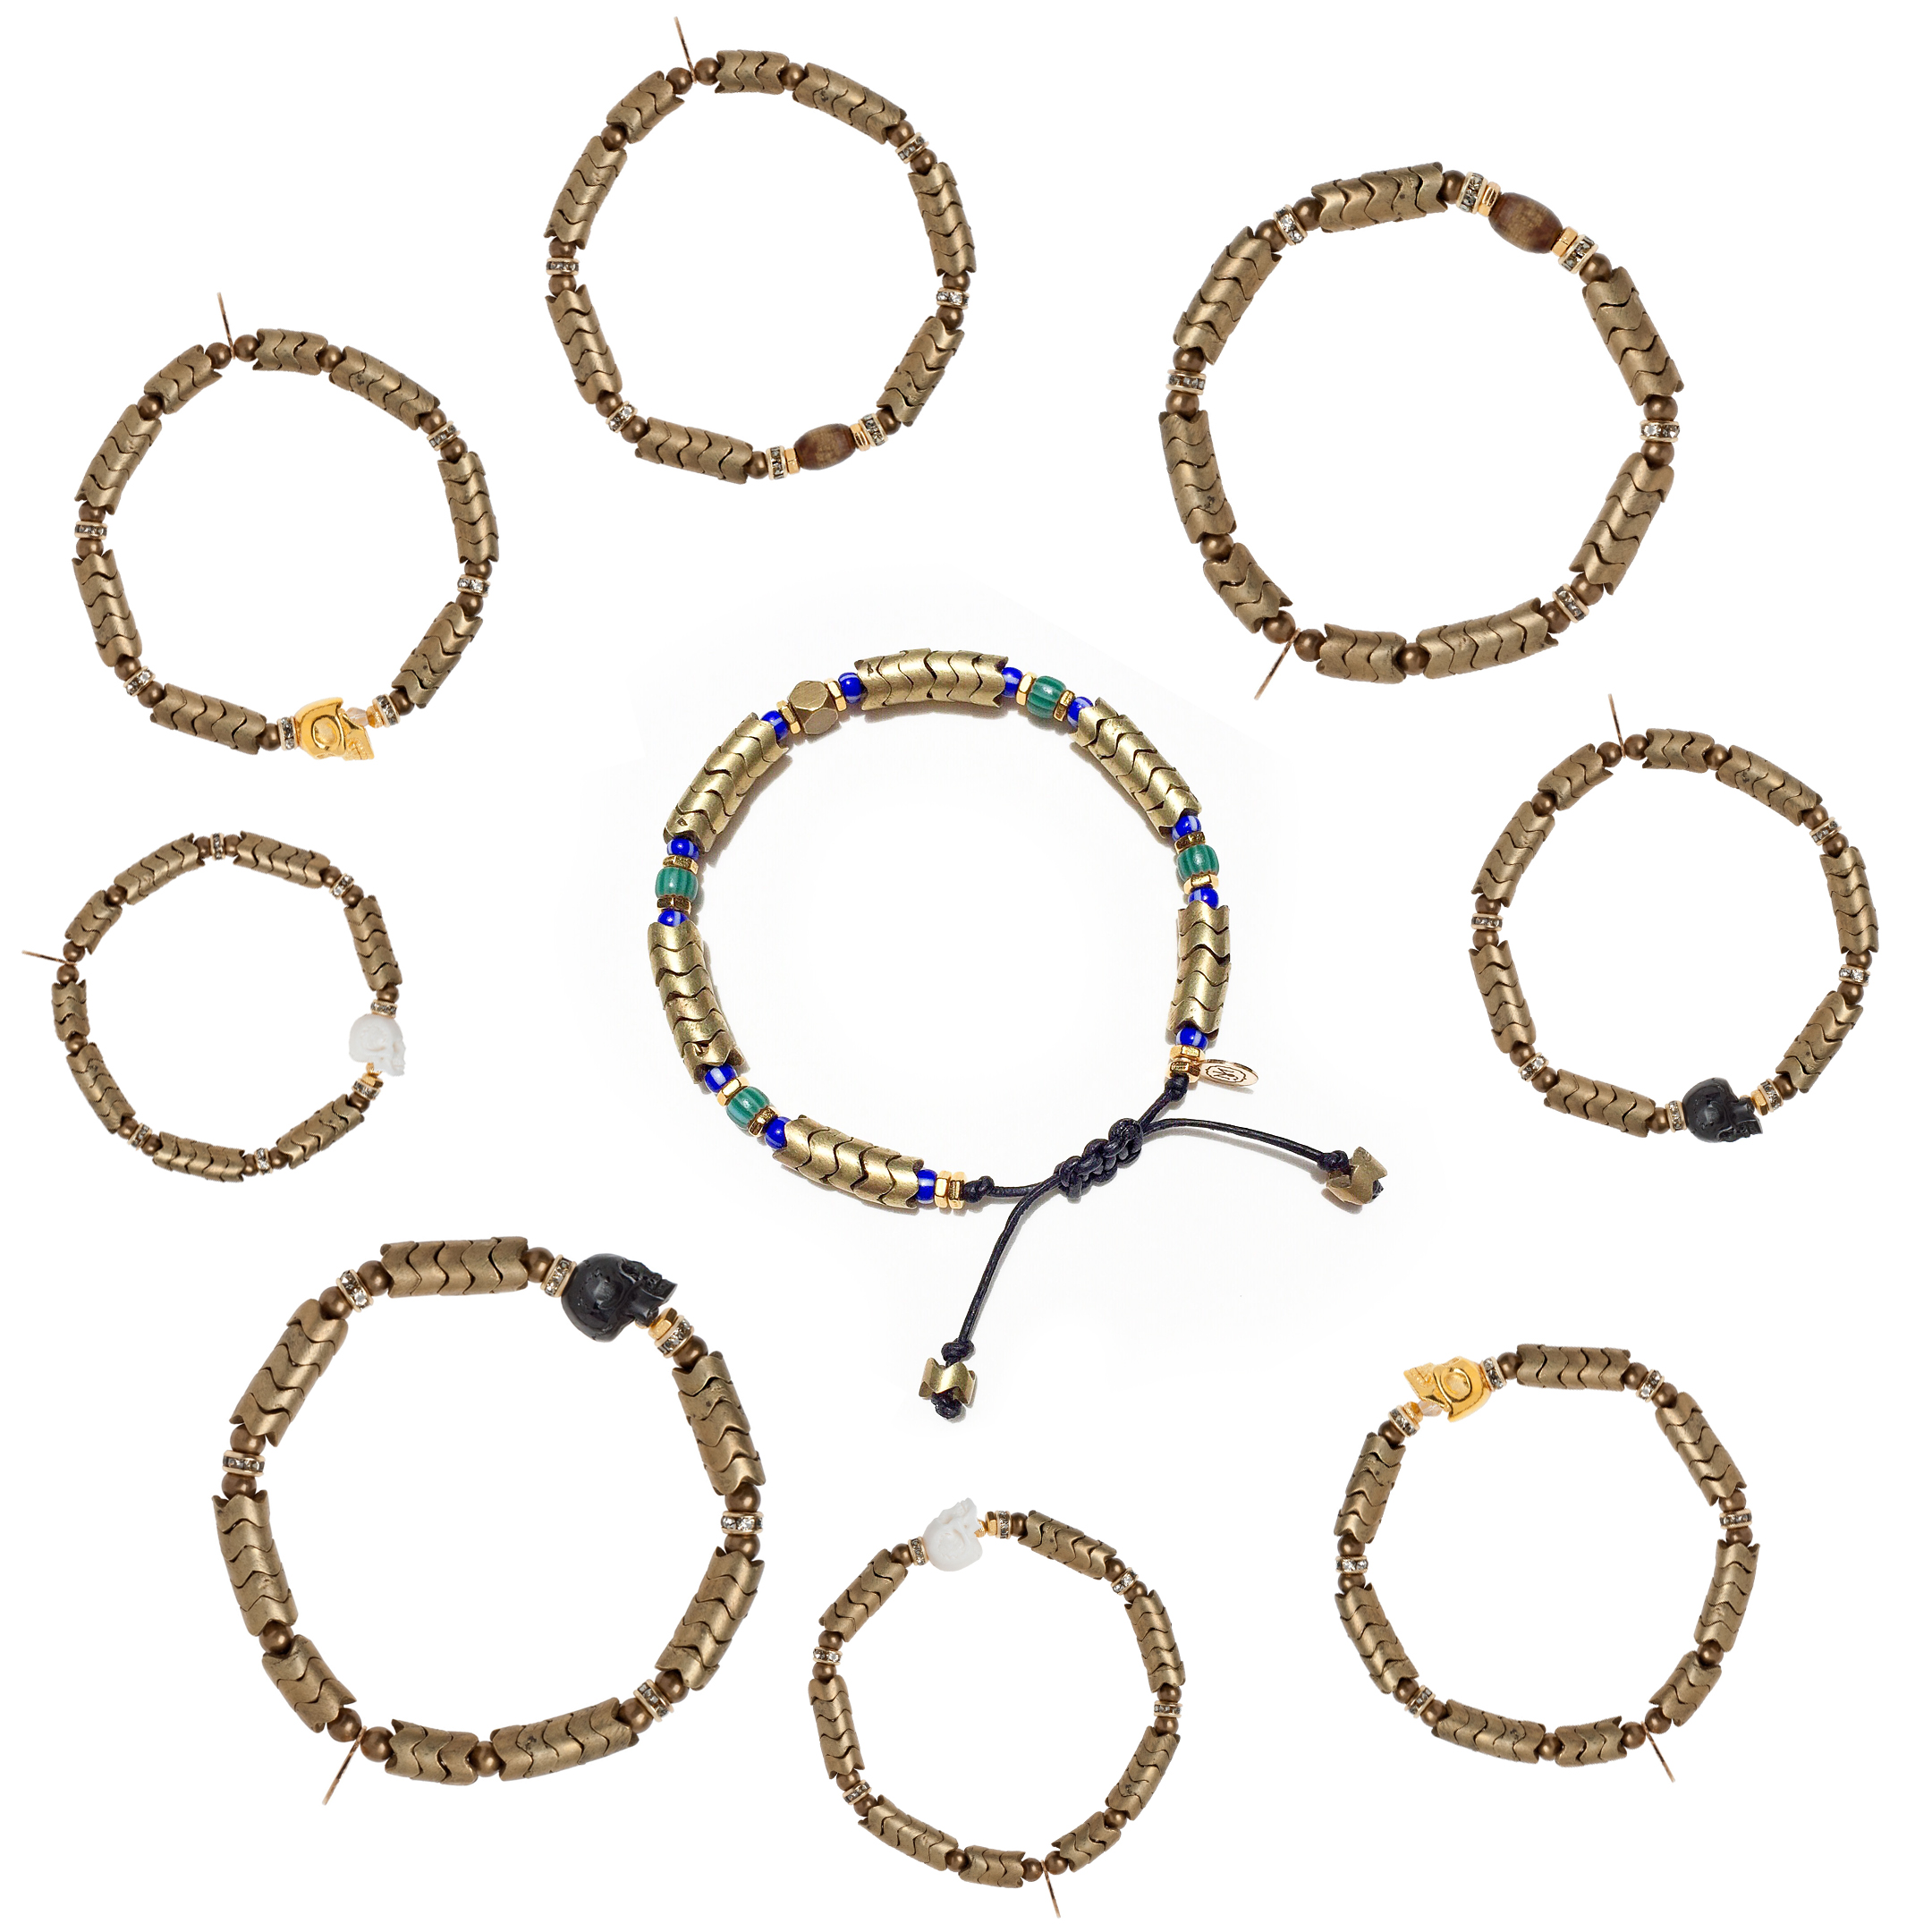
Bracelets
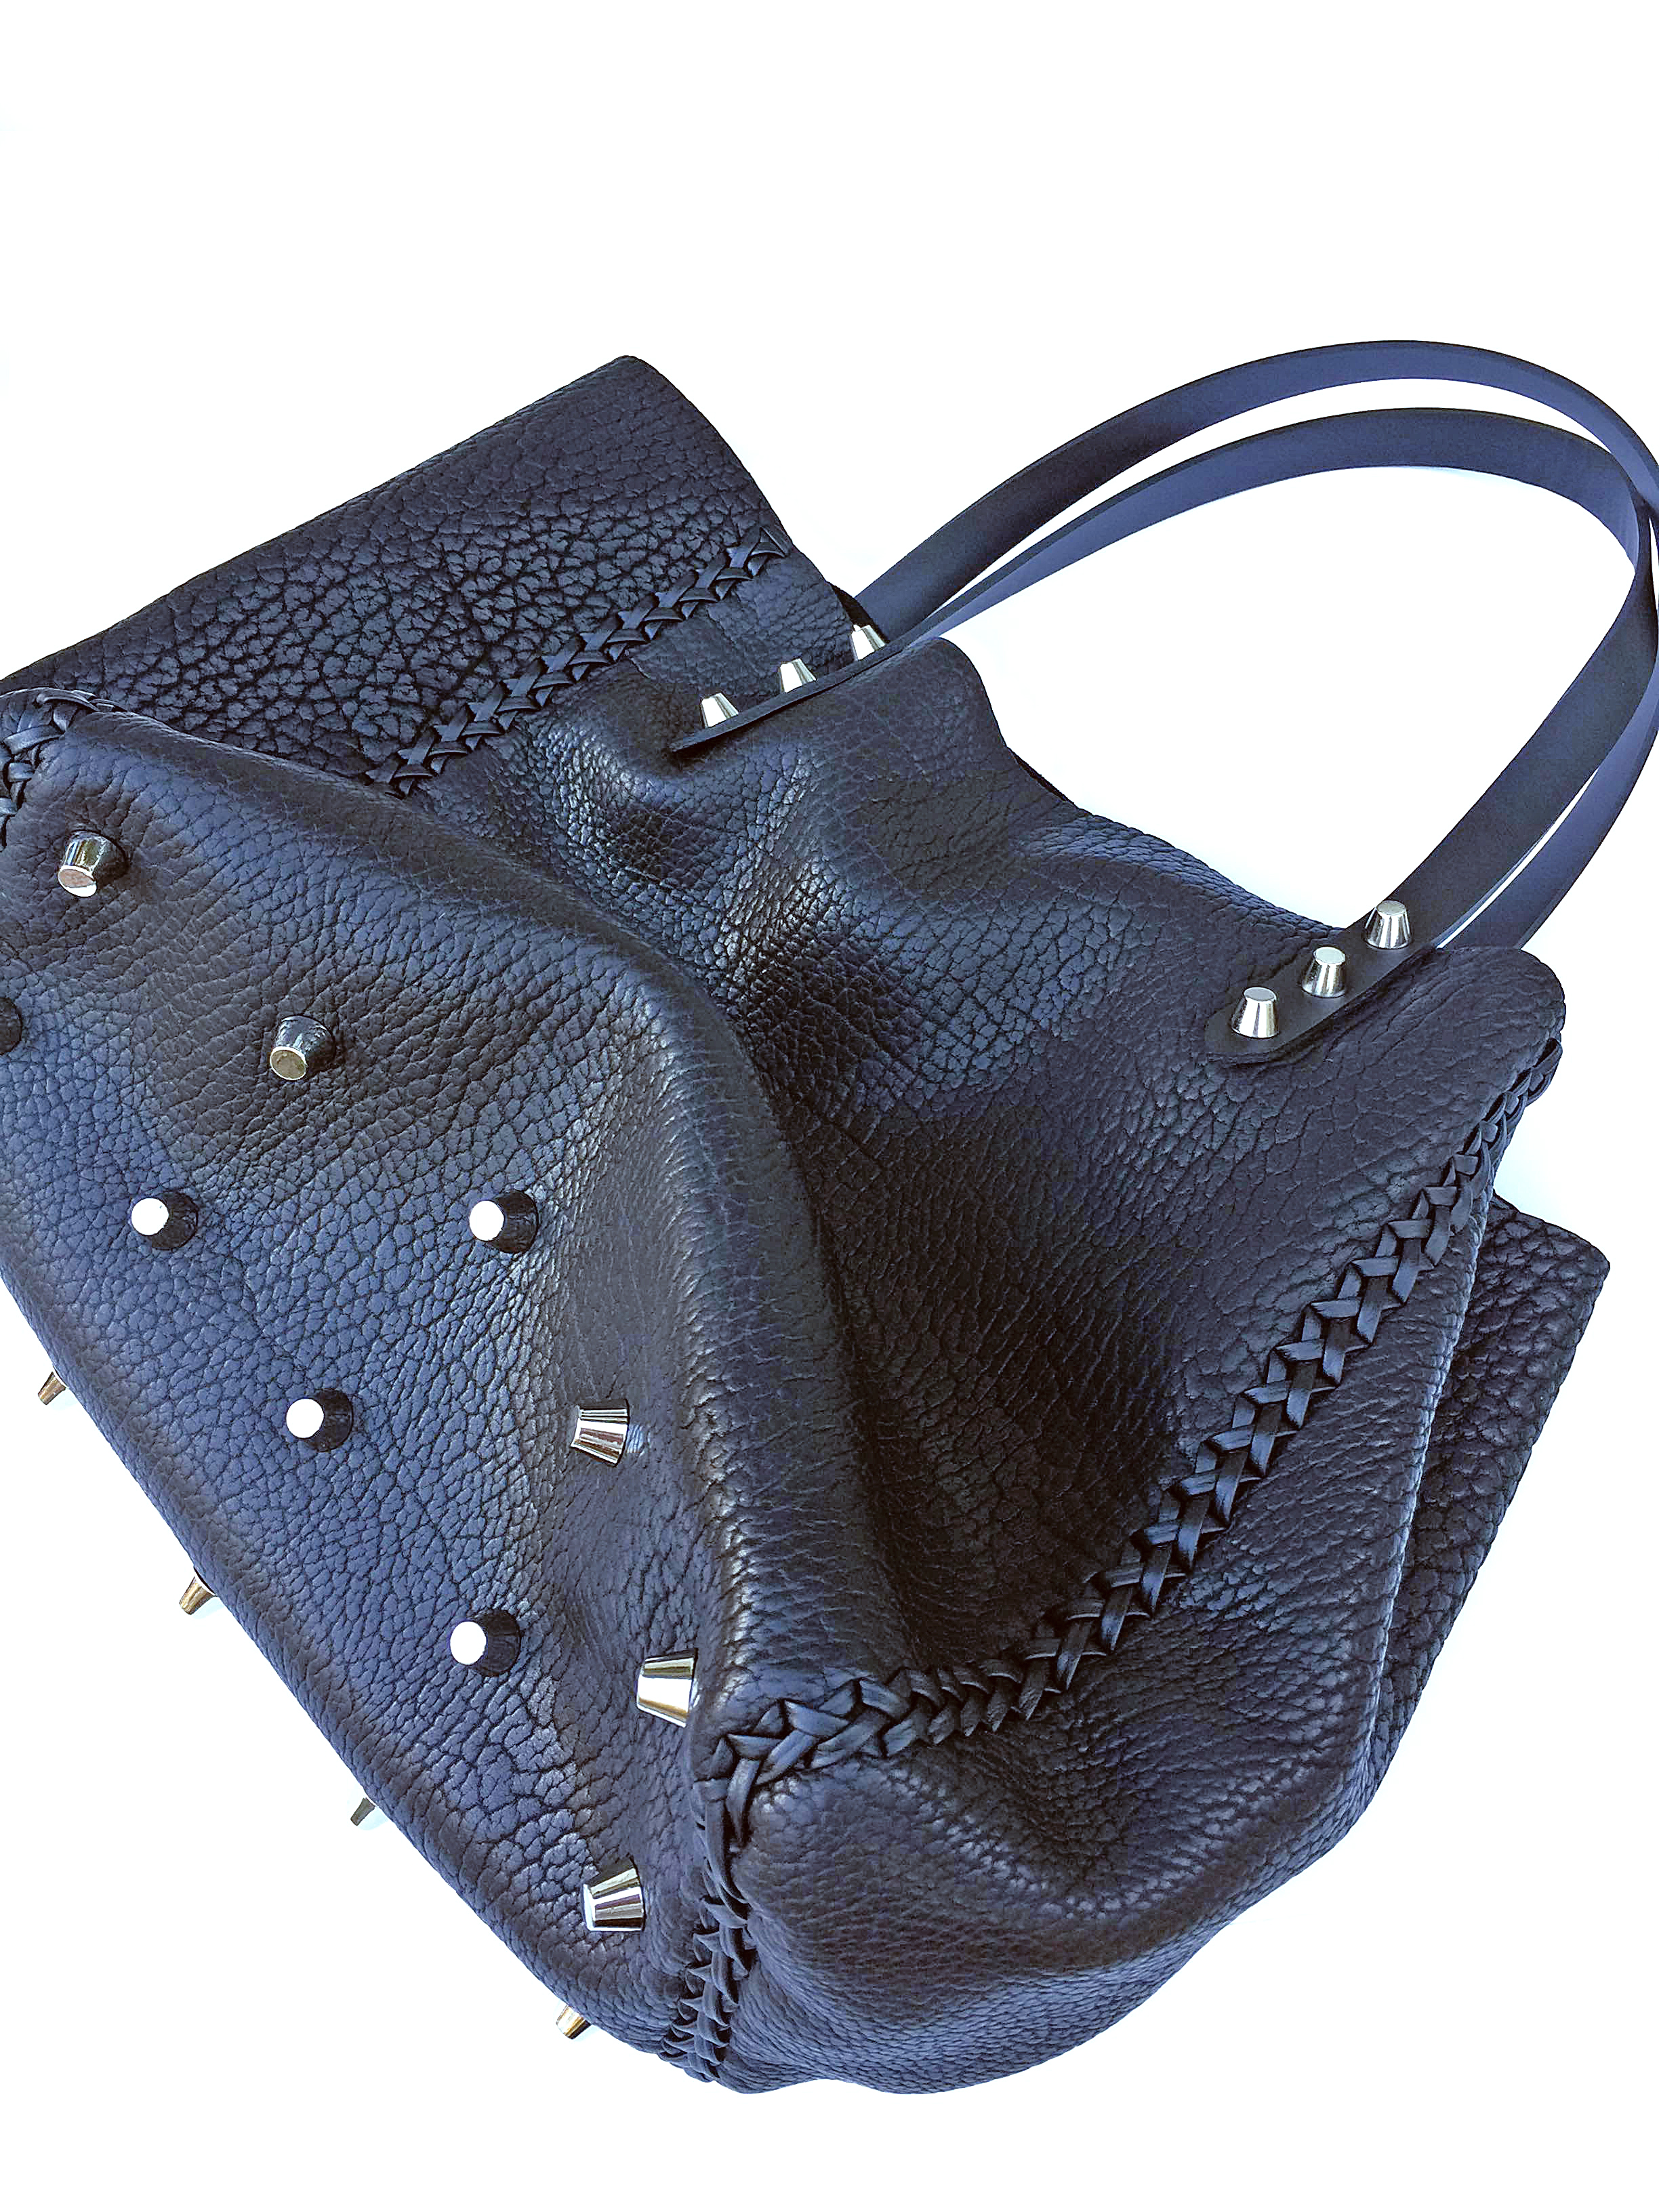
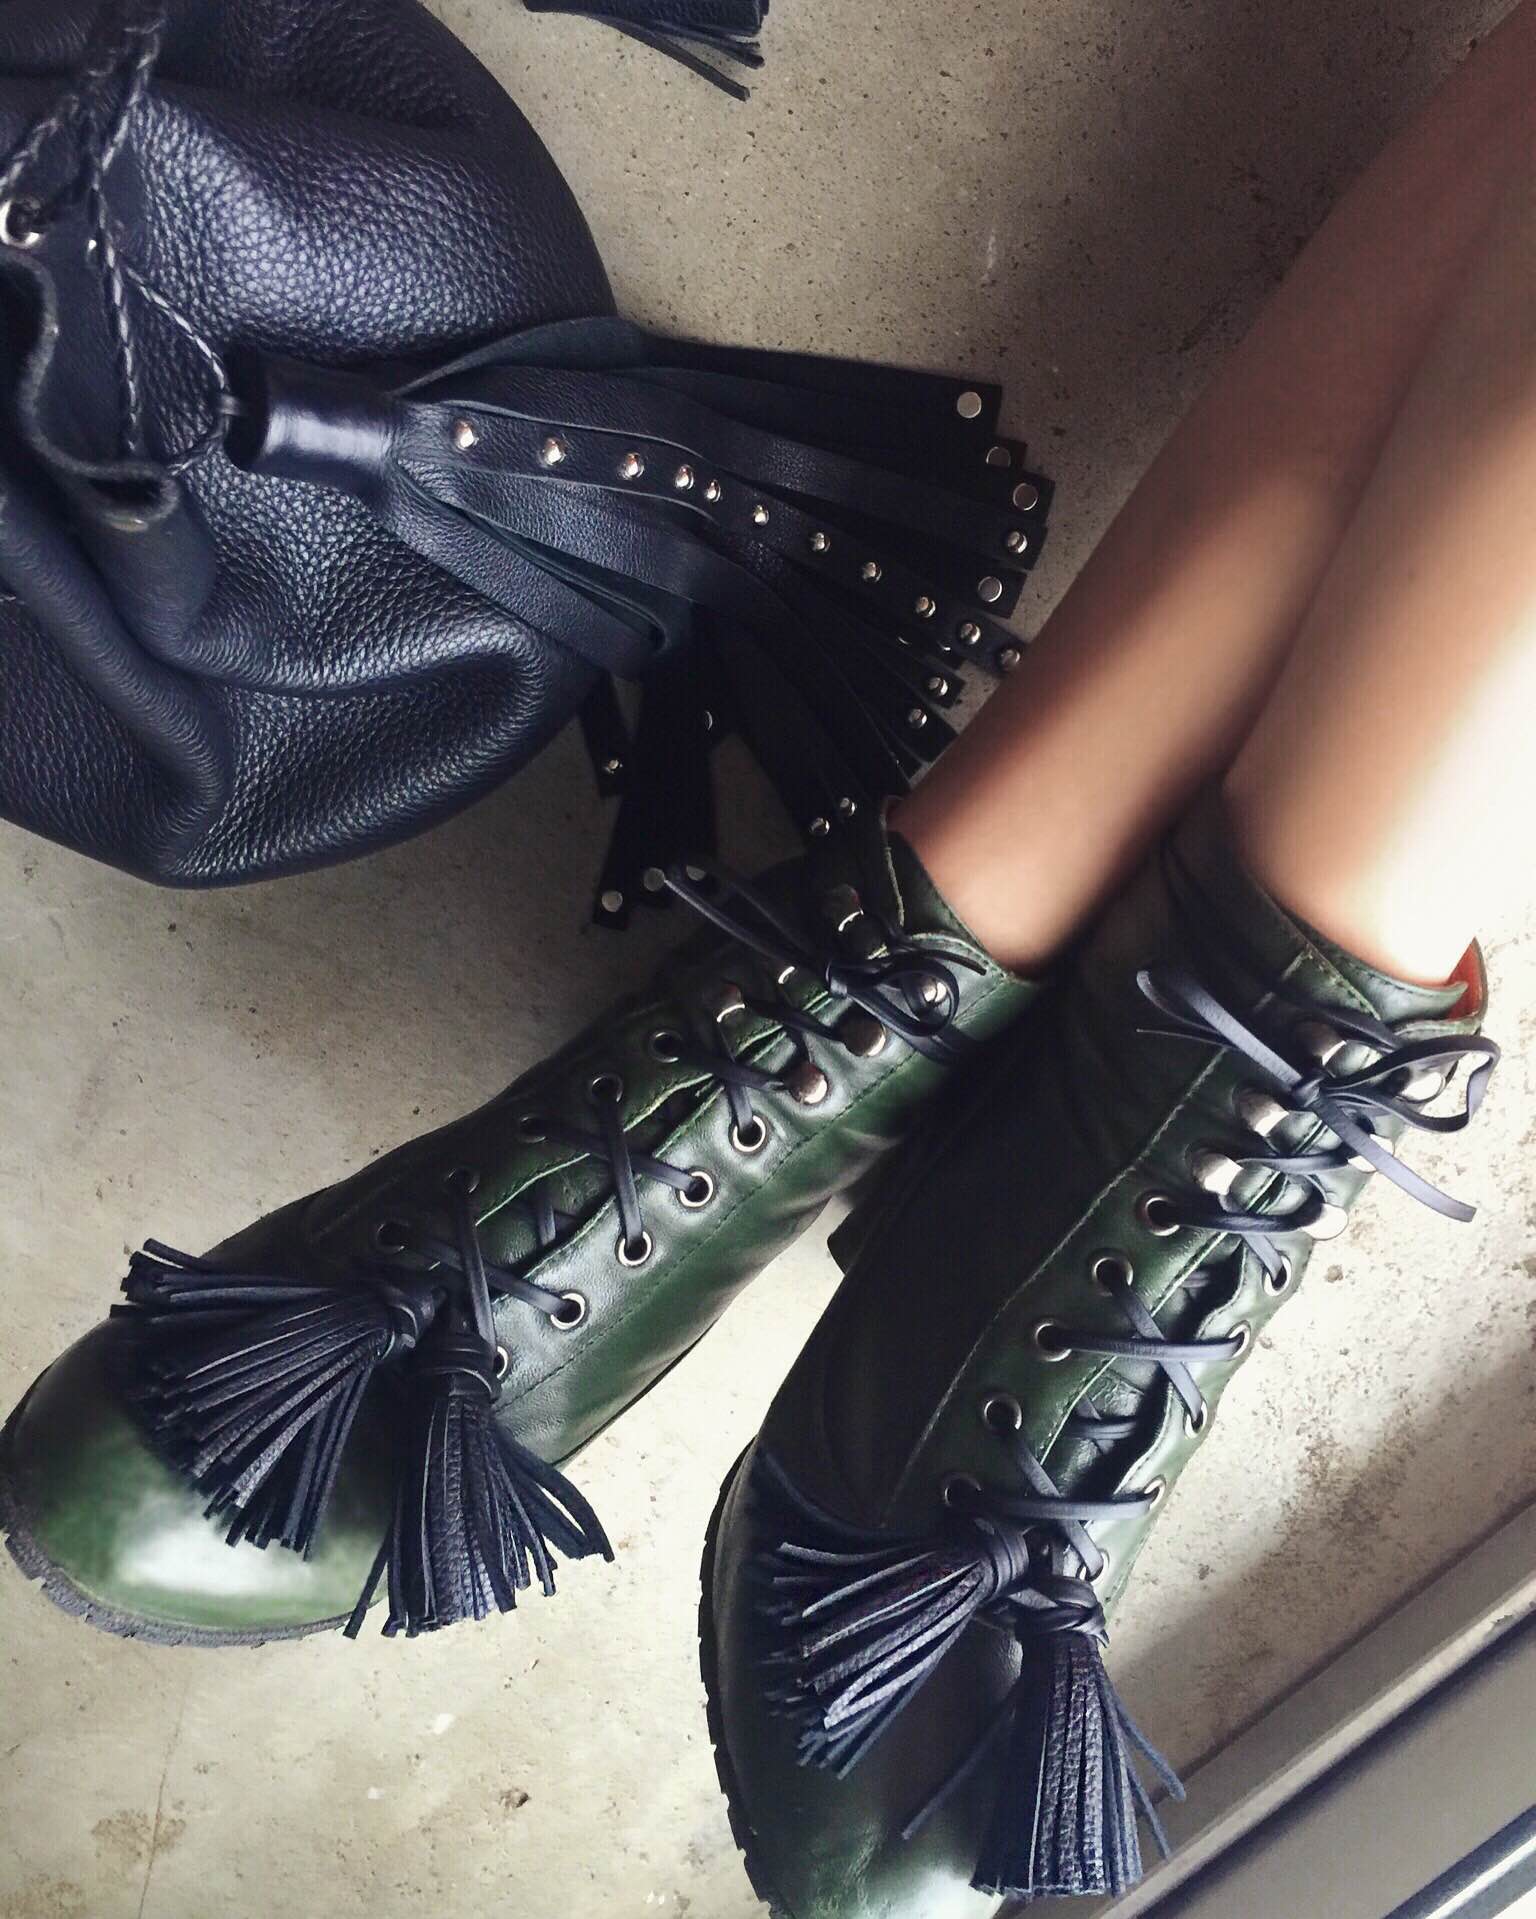
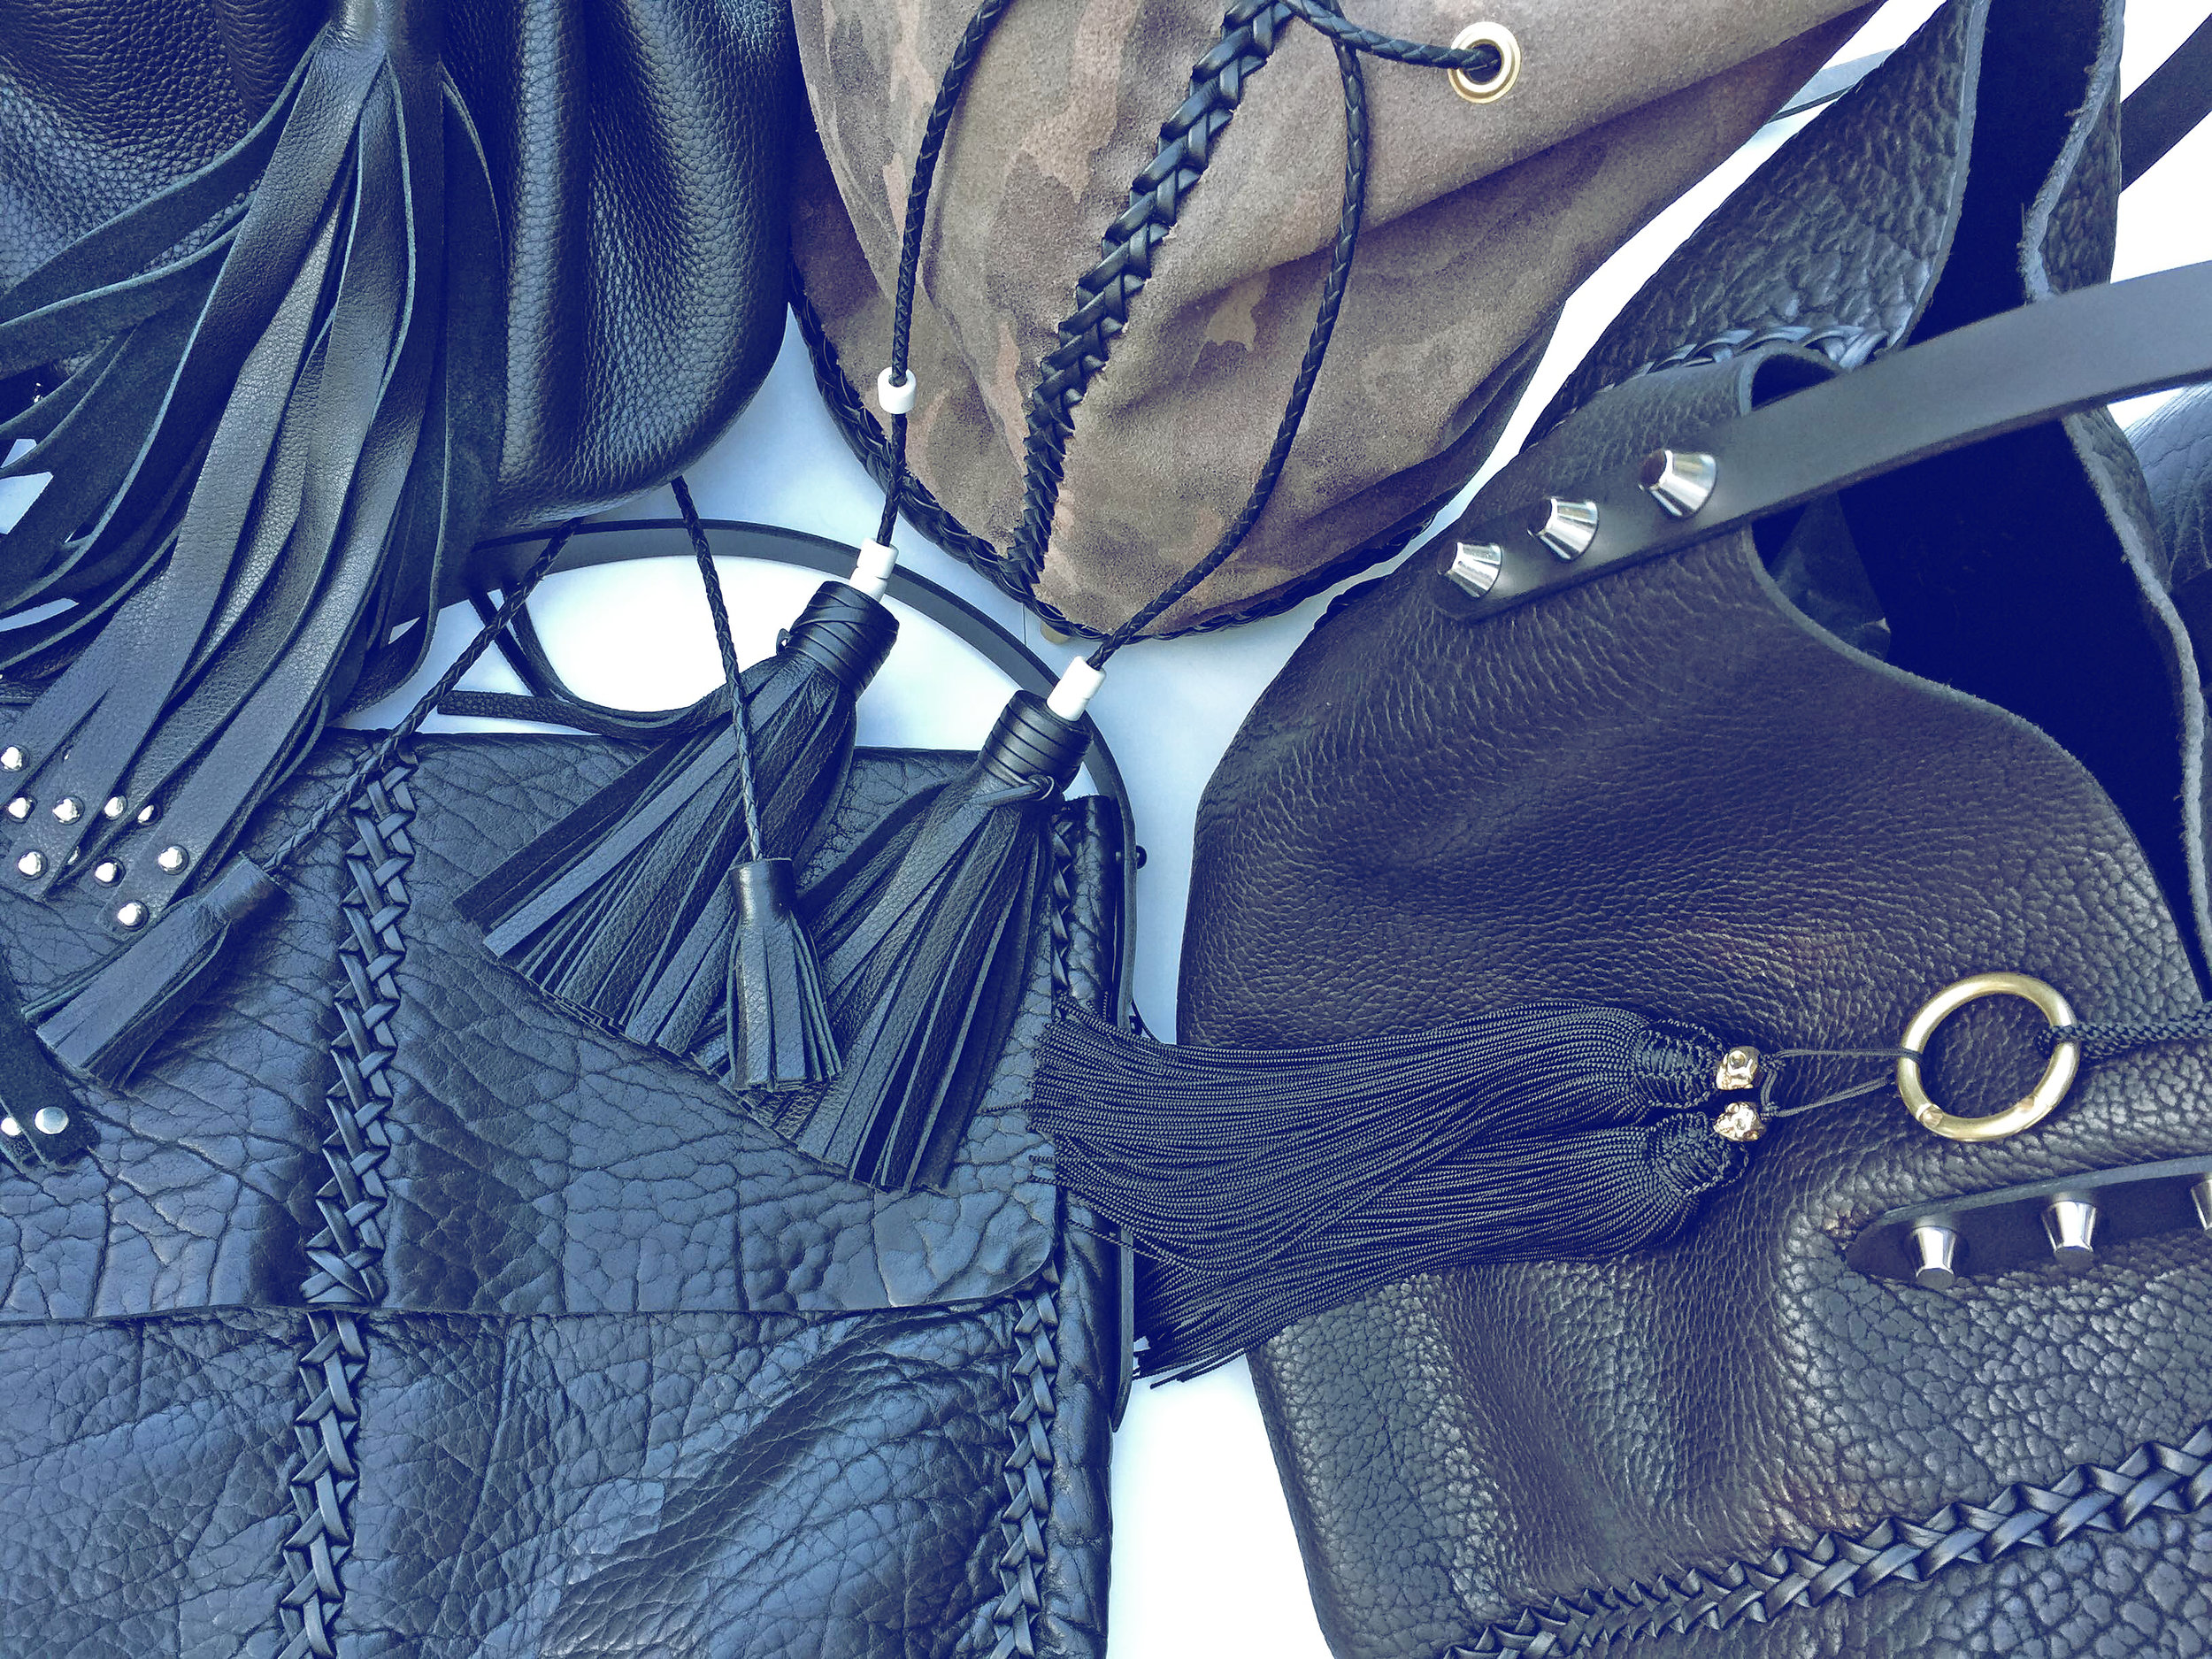
Leather goods
Gift Card
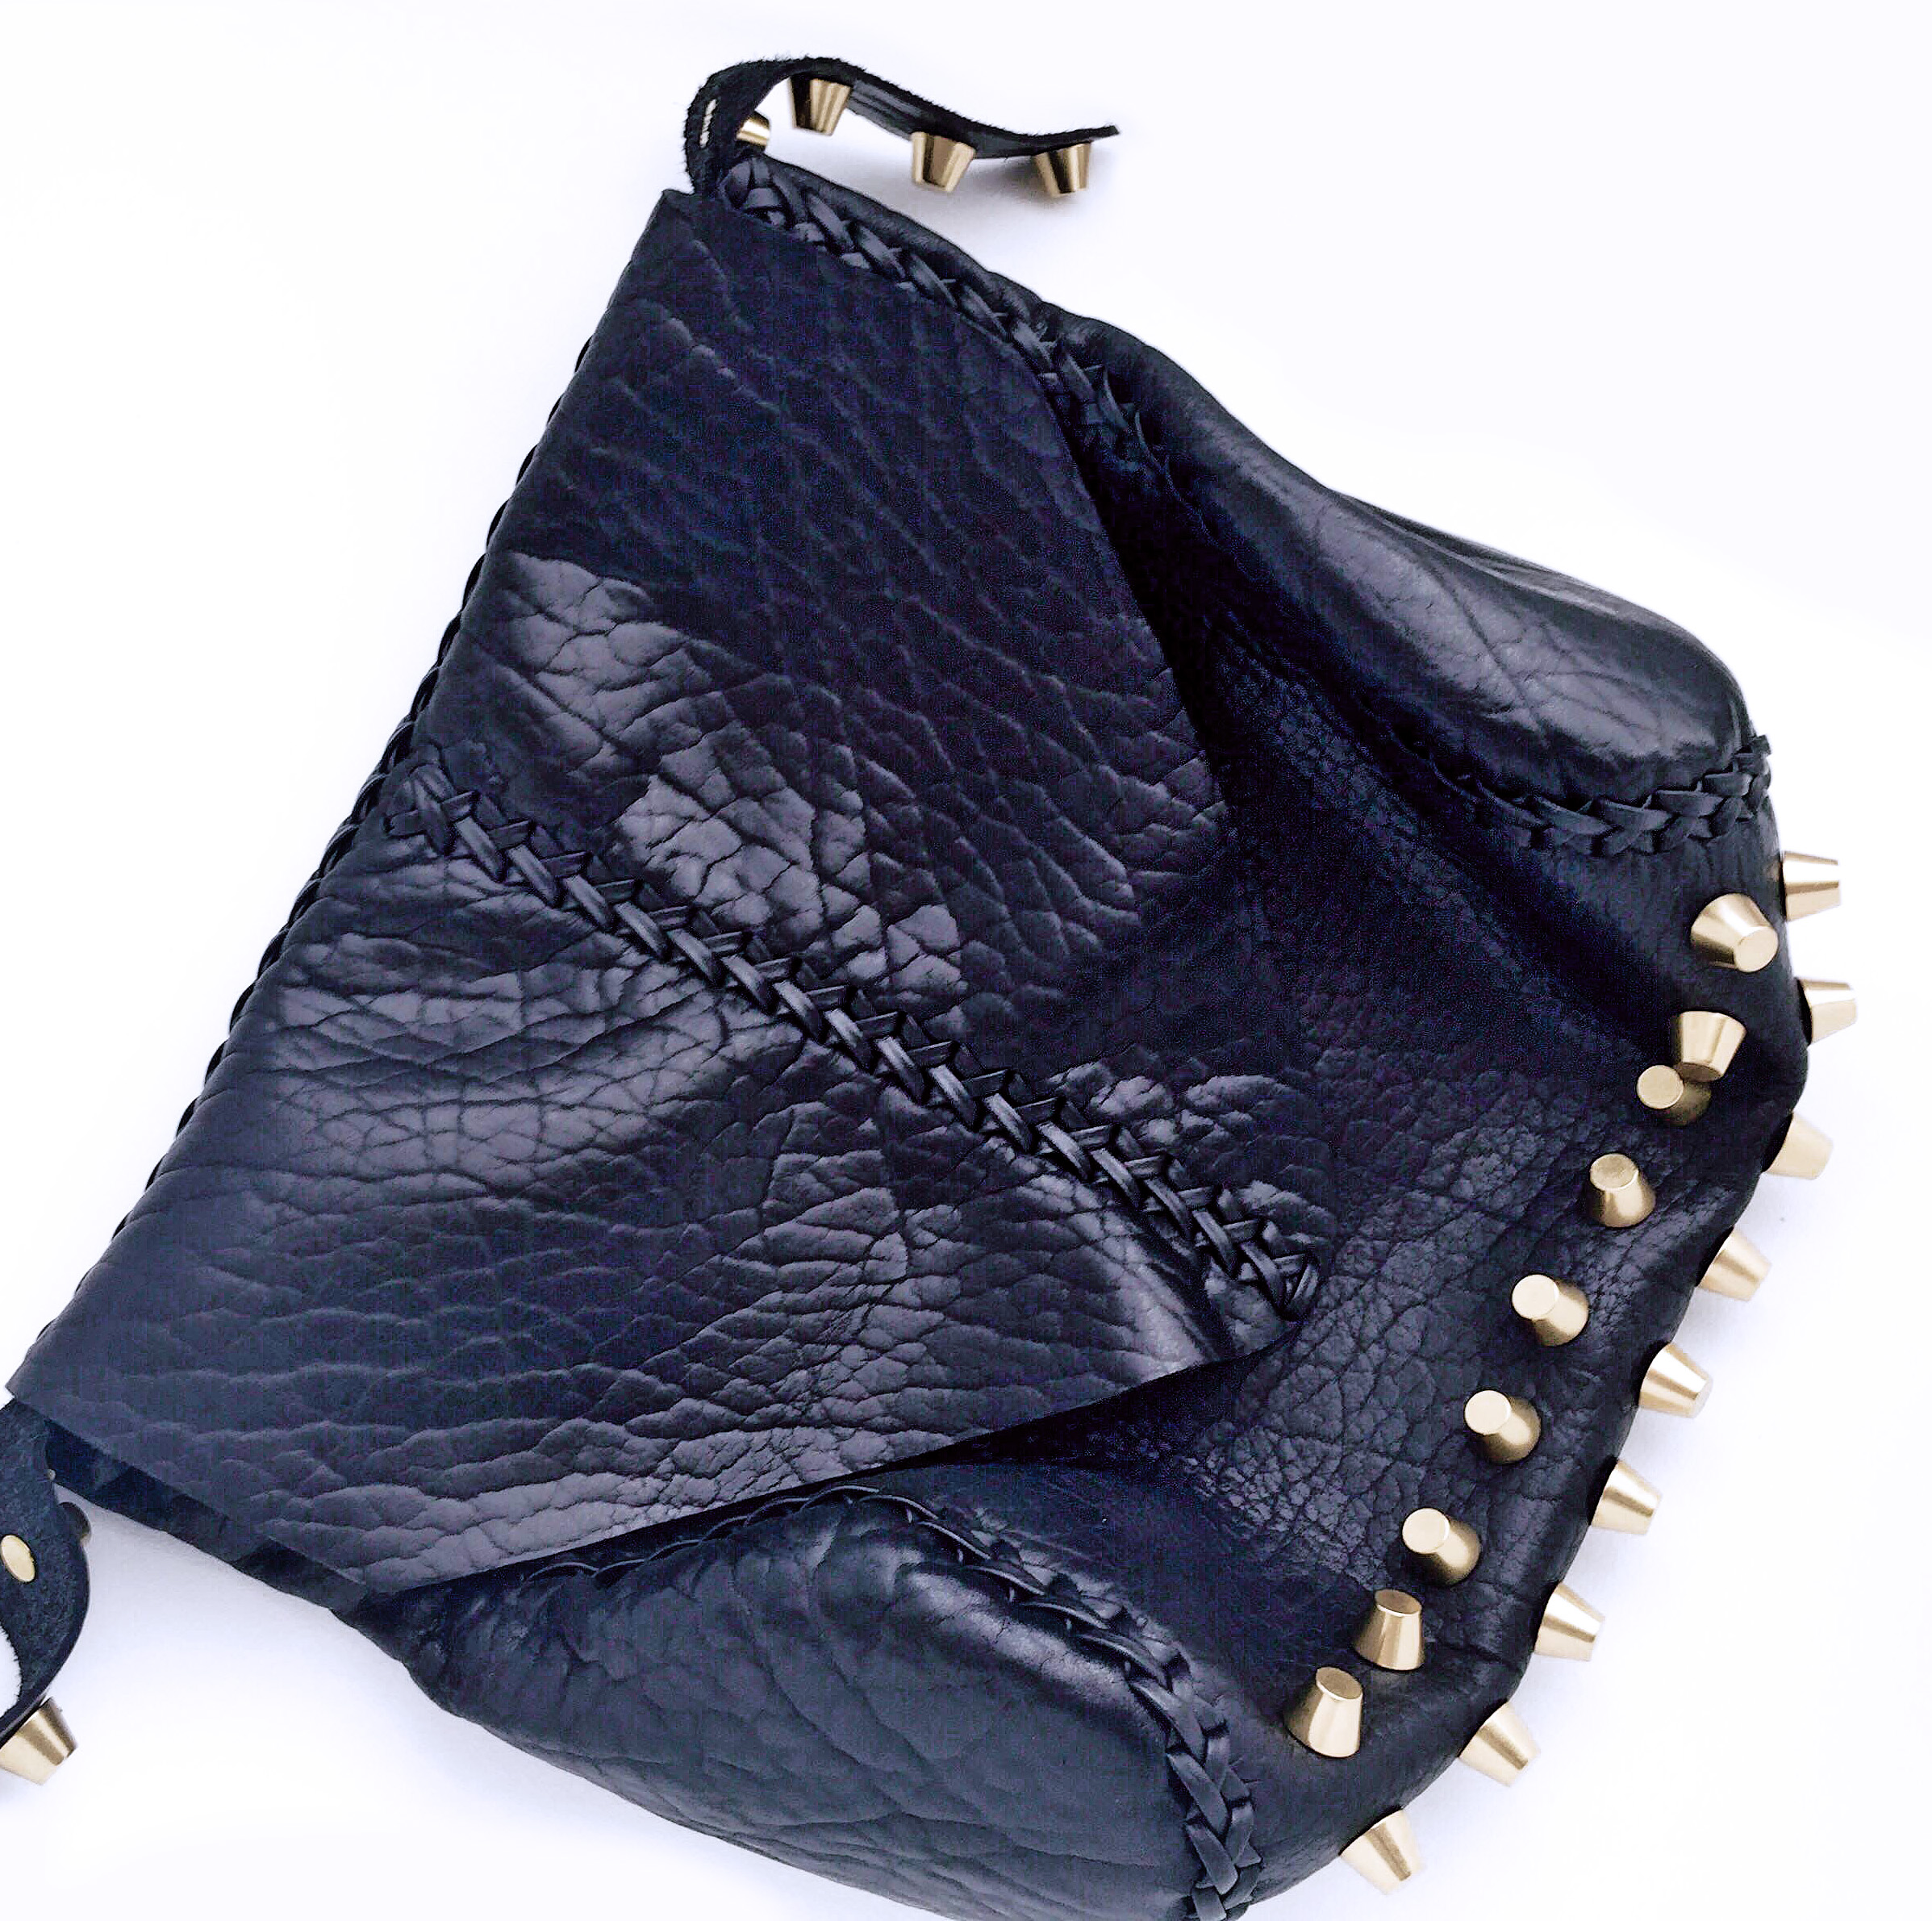
Leather
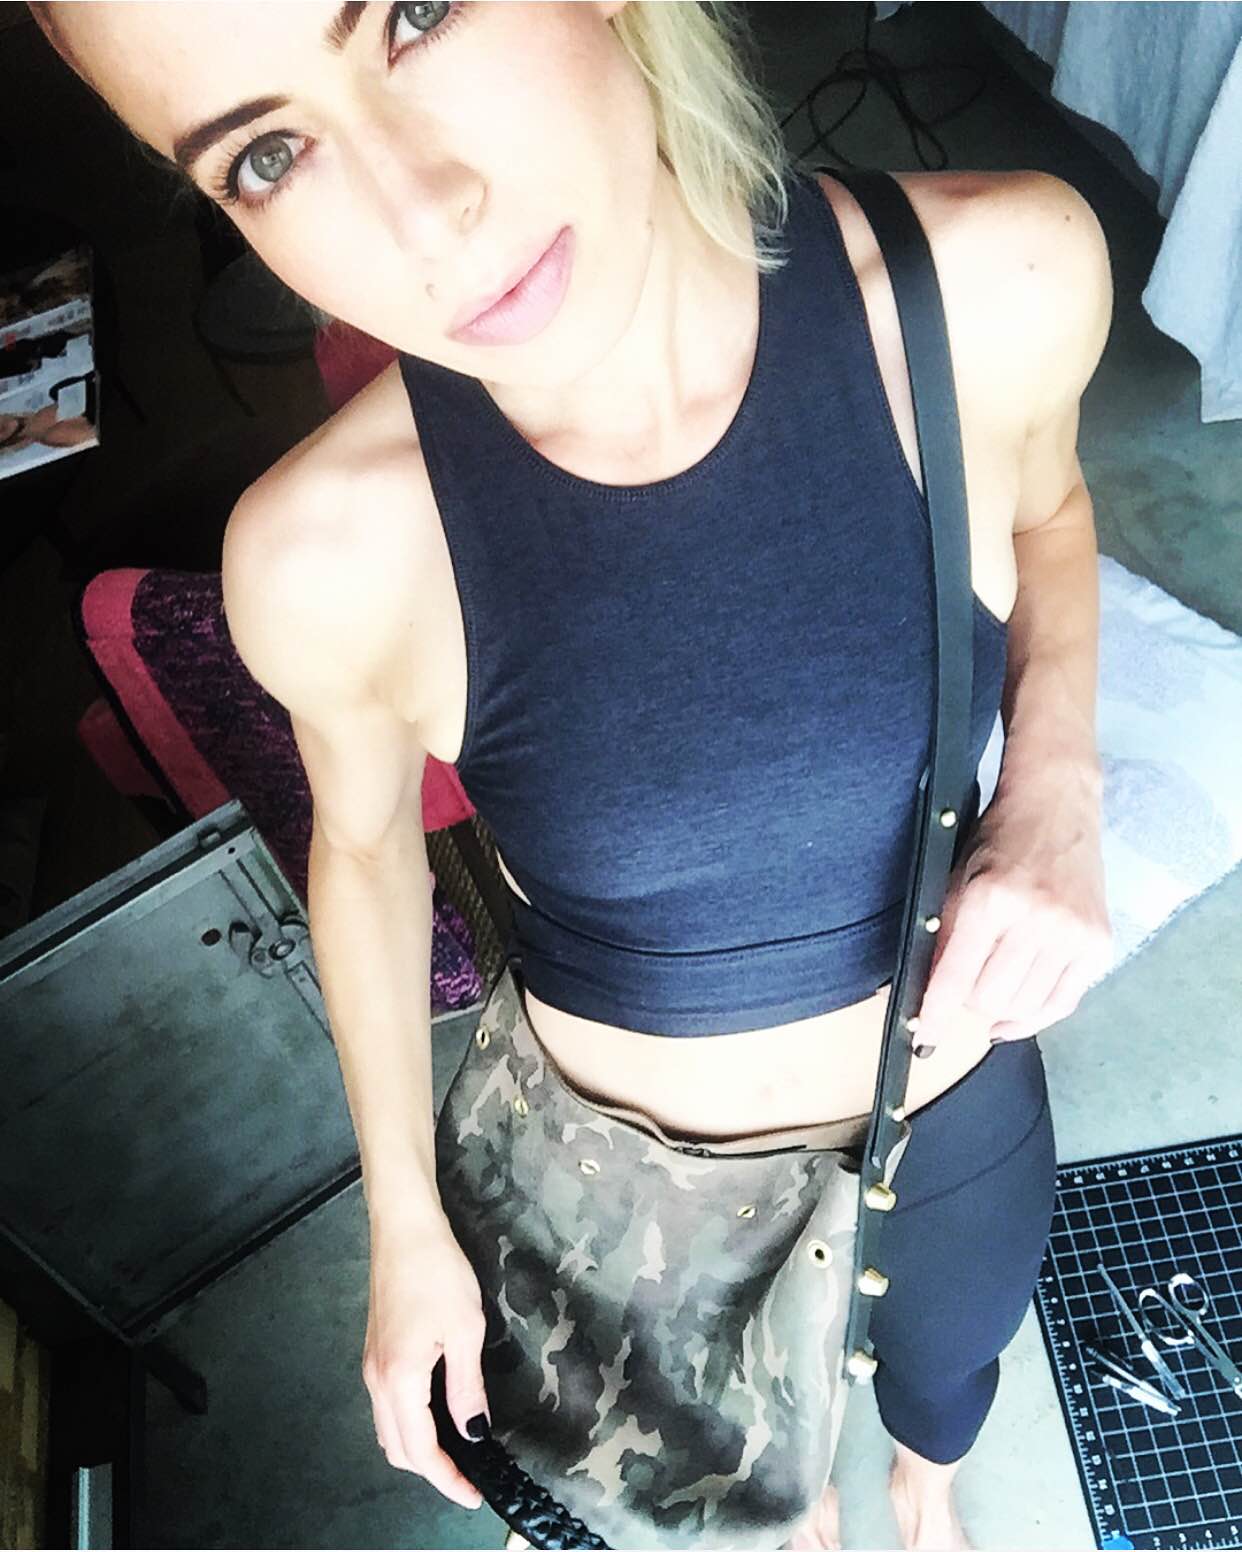
About
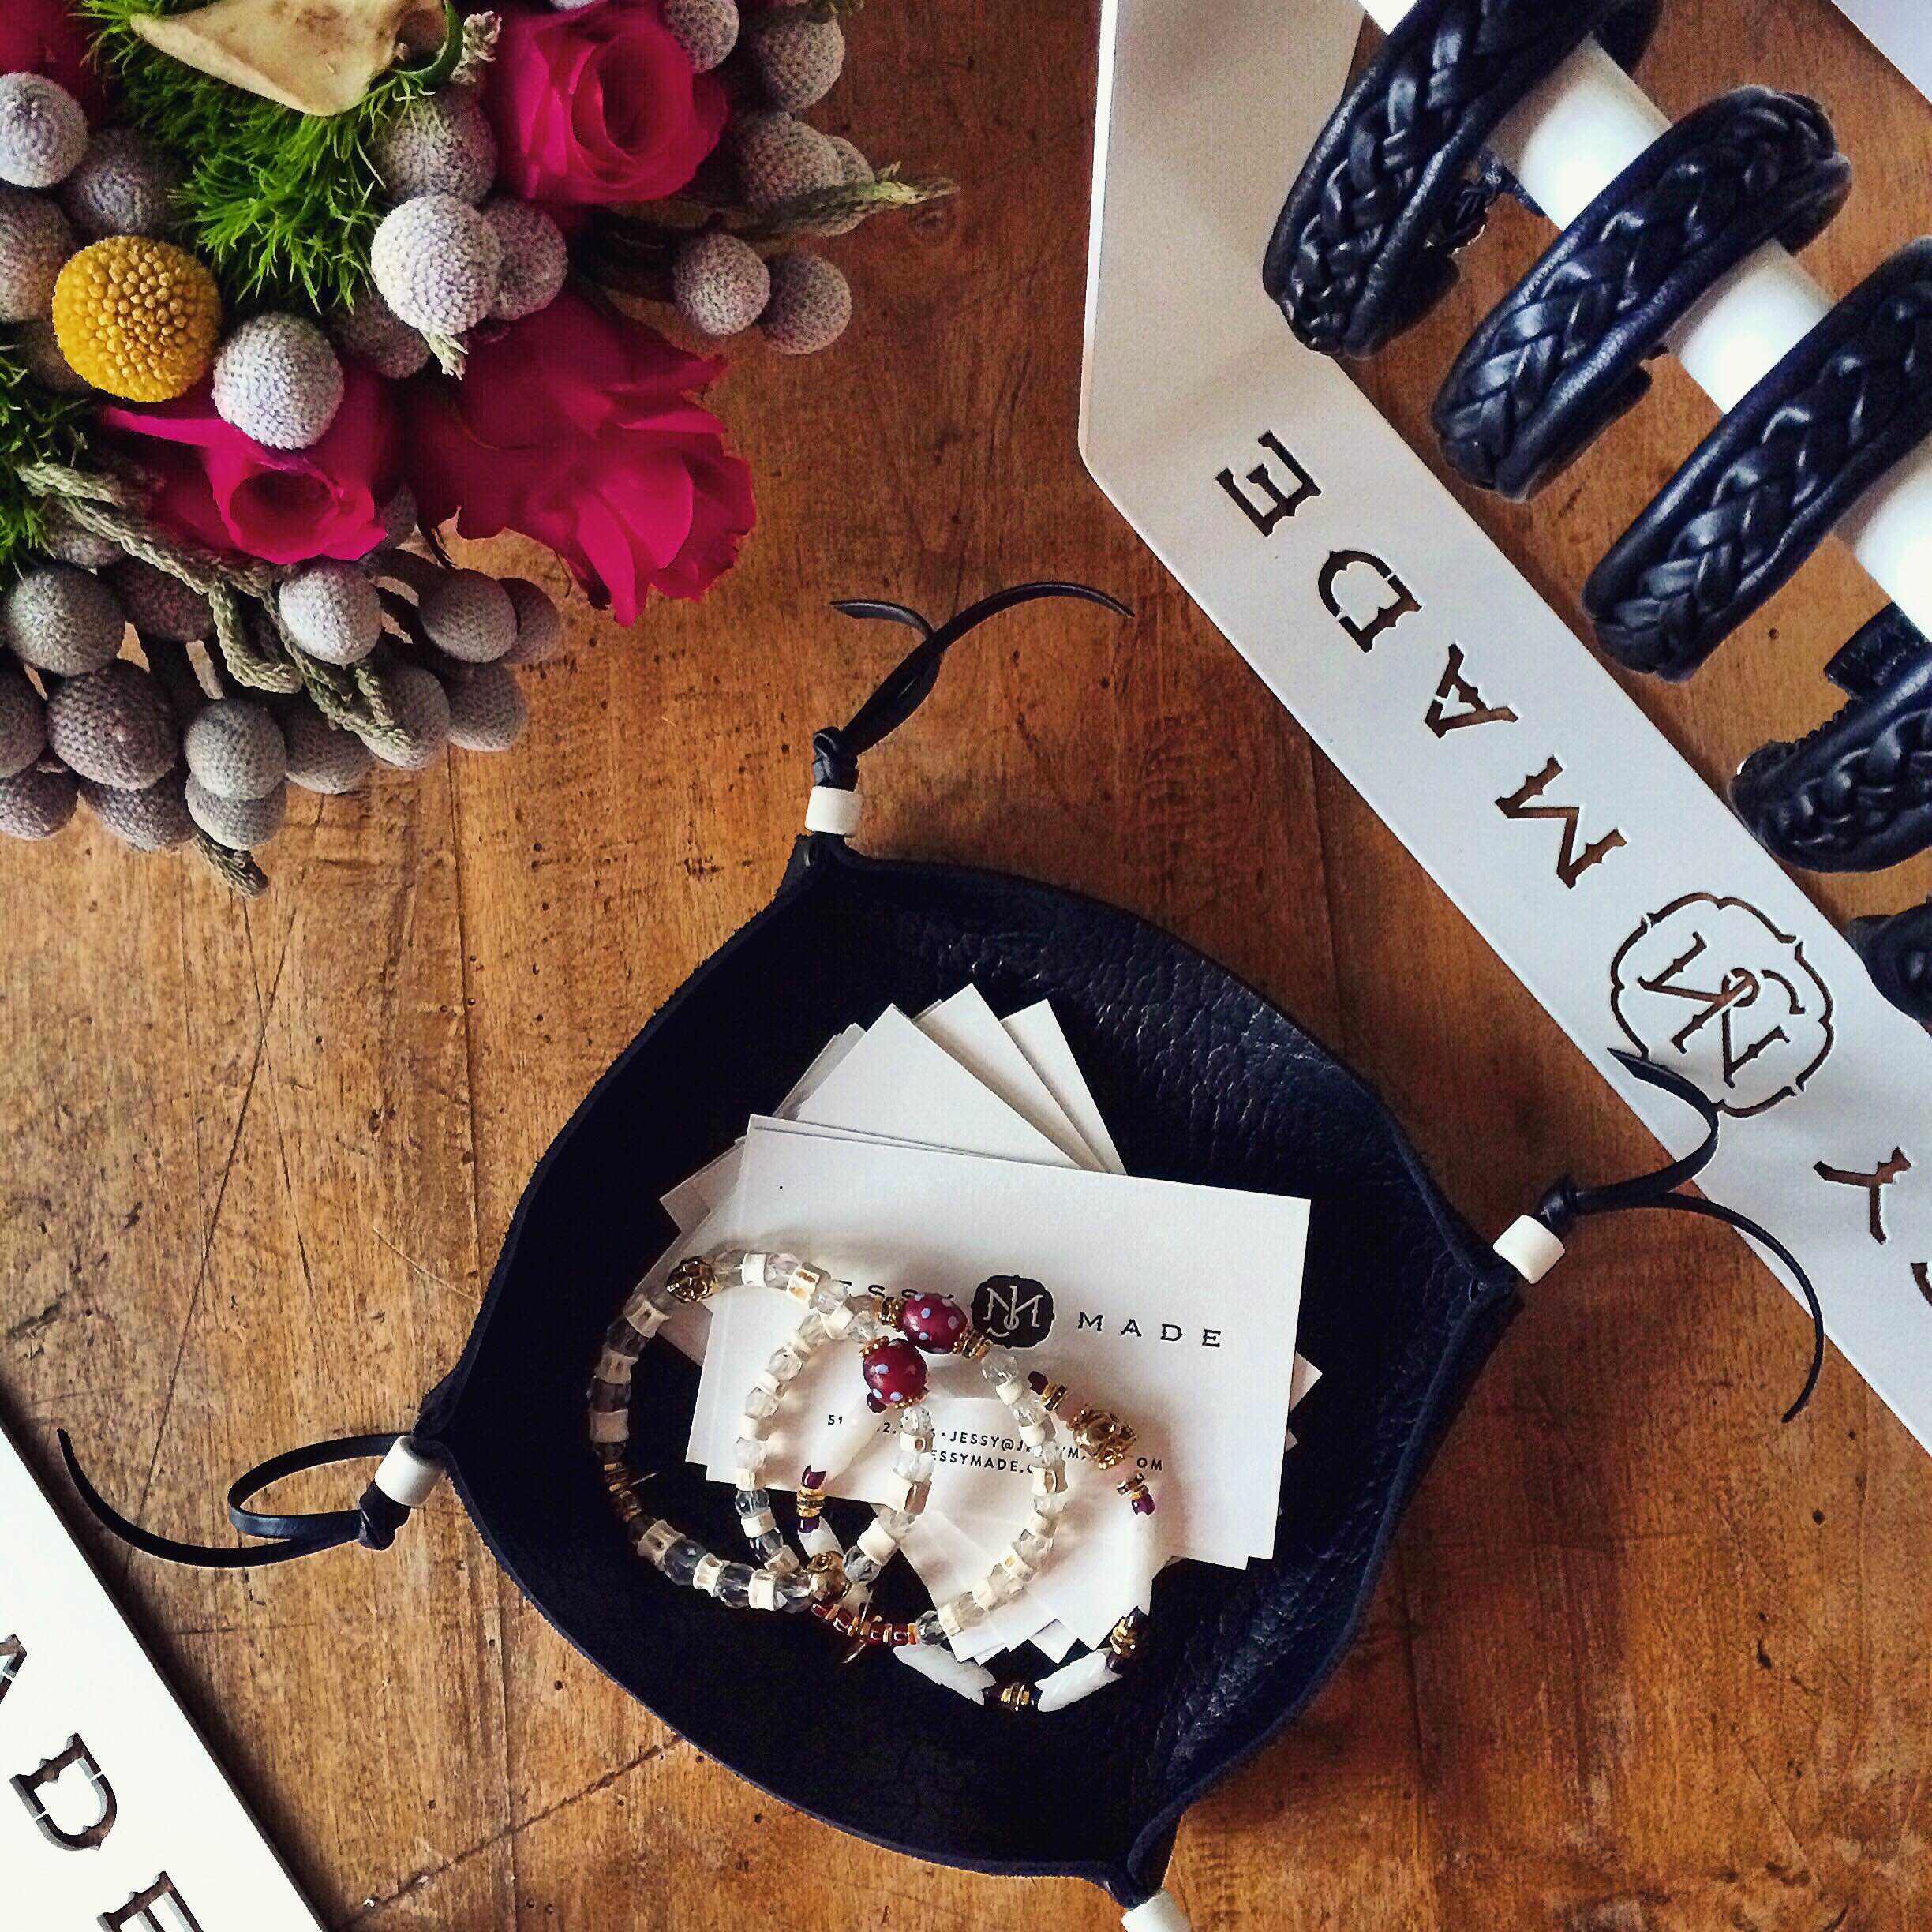
Jessy Made
Connect
Jessy Made
Shop
Bracelets
Leather goods
Gift Card
Leather
About
Jessy Made
Connect